
|
Do it yourself
| |||
| ||||


How to Repair the Split Stitch on the Canvas Hood of the Mercedes CLK A209
Model: Mercedes Clk
W209, A209, C209
- Years 2002-2010
Video tutorial
Detailed instructions - Let's see how to repair the split stitch on the canvas hood of the Mercedes CLK A209: this opens up creating a hole of 2/3 cm. It is a common defect on these vehicles. Replacing the entire hood is the best solution, but it is very expensive; a permanent solution is to glue and stitch the hood, but it requires skills, a lot of patience, and suitable tools. The simplest and most economical solution is gluing: it lasts a couple of years. Obtain a good glue for the hood, masking tape, and small metal clips. Lift the front part of the roof, apply masking tape around the stitch to be repaired to protect the canvas, clean both edges of the stitch to be repaired, then position the metal clips along the stitch to keep the edges aligned and reduce tension on the fabric during gluing. Apply the glue evenly between the clips, working in small sections, then allow the glue to cure for at least 24 hours before removing the clips. The roof must remain raised for another 36/48 hours, then remove any excess glue with a scalpel (or mask it with a black marker).
Posted on 9 July 2026 by ScegliAuto
Related tutorials
Mercedes Clk
(2002-2010 /
W209, A209, C209)
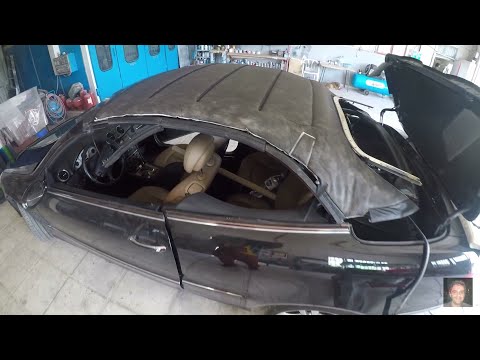
The fabric hood of the Mercedes CLK, like all vehicles equipped with such an accessory, is subject to wear over the years due to use, exposure to the…
Mercedes Clk
(2002-2010 /
W209, A209, C209)
How to repair the hood of a Mercedes CLK? Follow this video to proceed: using a screwdriver, remove the side plastic covers at the edges of the hood,…
Mercedes Clk
(2002-2010 /
W209, A209, C209)
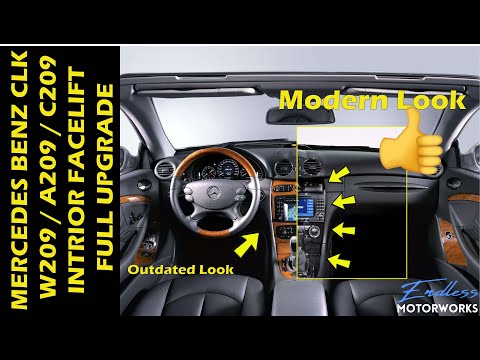
Before you start, open the front passenger door of your Mercedes C-Class CLK A209. Begin by opening the glove compartment. Next, unclip and remove th…
Other guides you may be interested in |
How to Replace the Key Battery in a Skoda Karoq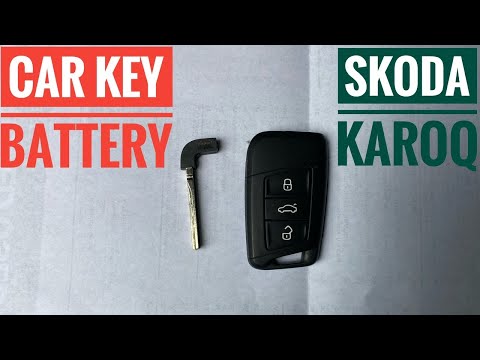
Replacing the button battery in your new Skoda Karoq key takes just a few minutes and can be done independently. Simply follow these steps. First, press the lower button of the cover while simultaneously pulling out the physical emergency key. Then, using a small flat screwdriver, remove the rear cover to access the exhausted battery. Remove the old battery and replace it with a new compatible model (CR2032). Finally, reattach the rear cover and insert the physical key back in. by ScegliAuto More videos
|
|
For advertising on this site Write to info@scegliauto.com
ScegliAuto is not responsible for any inaccuracy of the data in the lists. To report any inaccuracy or your business (if you own the business in question), please write to info@scegliauto.com
Number of seconds to generate the page: 0.050
(c) ScegliAuto 2026 - info@scegliauto.com - Privacy policy VAT number: IT01247470535 |
