
|
Do it yourself
| |||
| ||||


Check Climate Control Fault Memory
Model: Mercedes Classe E
W210
- Years:
1995, 1996, 1997, 1998, 1999, 2000, 2001, 2002
Video tutorial
In the bi-zone climate version, you can perform a diagnostic check of the climate control without special software. There is a manual procedure that allows you to receive a diagnostic response directly on the climate control display, as follows: 1 turn on the ignition without starting the engine; 2 set the temperature on the driver's side to maximum (HI) and the passenger side to minimum (LO); 3 press and hold the EC and REST buttons simultaneously until the recirculation button LED starts flashing; 4 press the AUTO button on the passenger side to receive the diagnostic response: the error code will appear on the display (specifically EB419 and EB416); 5 press the AUTO buttons simultaneously to perform a reset: if the fault persists, consult the error code legend. In this case, only the code EB416 was cleared, and EB419 remains, which refers to the electromagnetic clutch.
Updated on 10 February 2026 by ScegliAuto
Related tutorials
Mercedes Classe E
(1995-2002 /
W210)
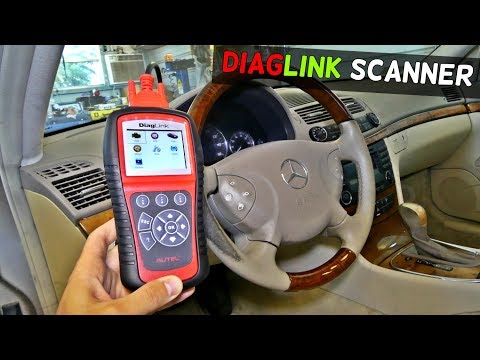
For the vehicle model in question, you can perform a diagnostic check for any faults in the air conditioning system through a specific sequence of bu…
Mercedes Classe E
(2002-2009 /
W211)
If any warning lights illuminate on the instrument cluster display, it means that the corresponding control unit has stored one or more faults. To un…

Mercedes Classe E
(1995-2002 /
W210)
In this brief guide, learn how to reset the air conditioner of the Mercedes E-Class W210 due to malfunction. First, get in the car and turn on the ig…
Other guides you may be interested in
|
How to Remove the Front Bumper on a Citroen C4 Picasso?
In this tutorial, see how to replace the front bumper on a Citroen C4 Picasso, a very simple and quick operation. First, open the bonnet, then locate the rivets on the upper edge of the grille and, using a flat-head screwdriver, remove them. Next, move underneath the bumper, unscrew all the fixing bolts, and proceed to remove the last screws, accessible from inside the wheel arches. At this point, grasp the bumper from one of the two ends, pull it outwards, and separate it from the chassis. by ScegliAuto More videos
|
|
For advertising on this site Write to info@scegliauto.com
ScegliAuto is not responsible for any inaccuracy of the data in the lists. To report any inaccuracy or your business (if you own the business in question), please write to info@scegliauto.com
Number of seconds to generate the page: 0.025
(c) ScegliAuto 2026 - info@scegliauto.com - Privacy policy VAT number: IT01247470535 |
