
|
Do it yourself
| |||
| ||||


Fuse Diagram for a Mercedes C300
Model: Mercedes Classe C
W205
- Years 2014-2021
This tutorial shows the location of the fuses in a Mercedes C300. Press the button on the left of the driver's area designated for opening the rear compartment. Then open the hood and lift the frame using the designated lever. At this point, simply lift the flexible cover located at the bottom right to reveal the fuses in the rear compartment and the instruction sheet regarding the fuse diagram. Next, open the engine compartment and lift the plastic cover. Unscrew the two screws holding the fuse box cover with a Torx T20 wrench, and by lifting it, you can observe the second group of fuses. Inside the vehicle, on the side of the dashboard on the driver's side, you will see a cover. Remove it using a flathead screwdriver to pry it off, revealing the third group of fuses. Finally, under the passenger side dashboard, to the right, you can find the fourth and final group of fuses by easily removing the cover.
Updated on 7 July 2026 by ScegliAuto
Video tutorial
Related tutorials
Mercedes Classe C
(2014-2021 /
W205)
In this new guide dedicated to all of you who own a Mercedes C300 (also called W205), we will explain the steps to follow if you intend to replace bo…

Mercedes Classe C
(2014-2021 /
W205)
In the following procedure, you will find the description of all the steps necessary to manually reset the oil light on your 2014 Mercedes C300. Firs…
Mercedes Classe C
(2014-2021 /
W205)
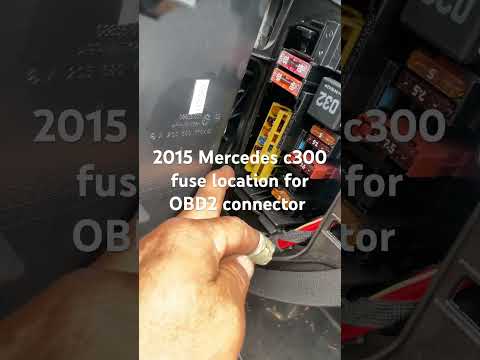
Thanks to the following guide, you will finally be able to independently locate the box containing all the various fuses of your 2015 Mercedes C300. …
Other guides you may be interested in
|
Frequently Asked QuestionsHow to Connect the Cables to the Battery of the Citroen Xsara Picasso?
In this tutorial, you will see how to connect the cables to the battery of the Citroen Xsara Picasso, useful if you need to recharge it or perform an emergency start. First, ensure the key is not inserted, then open the bonnet and move to the front of the left headlamp. Next, locate the bolt just behind the filter box and connect the positive terminal clamp to it. Now you can connect the negative terminal to any point on the chassis, such as the indicated point. Once the operation is complete, ensure you disconnect the negative first and then the positive. by ScegliAuto More videos
|

|
For advertising on this site Write to info@scegliauto.com
ScegliAuto is not responsible for any inaccuracy of the data in the lists. To report any inaccuracy or your business (if you own the business in question), please write to info@scegliauto.com
Number of seconds to generate the page: 0.621
(c) ScegliAuto 2026 - info@scegliauto.com - Privacy policy VAT number: IT01247470535 |
