
|
Do it yourself
| |||
| ||||


Repair of the fuse board of the Mini Cooper F55/F56
Model: Mini Mini
F56, F57, F54, F55
- Years 2014-2023
In this video we see how it is possible to repair the fuse board of the Mini Cooper F55/F56: first of all, we take a photo of the fuse box so that we can put all the components back in place once the repair is done. We then remove all the fuses from their location and then remove the plastic cover from the electronic board: carefully pull and flip it over once uncovered: the edges are soldered together with thirty connections, which must be carefully desoldered. Once the boards are separated, we will need to carefully inspect all the solder joints, and you will probably find a faulty solder joint near the fuel relay, as the YouTuber shows us. We repair it and reassemble the relays and then the entire board.
Posted on 7 February 2025 by ScegliAuto
Video tutorial
Related tutorials
Mini
(2014-2023 /
F56, F57, F54, F55)
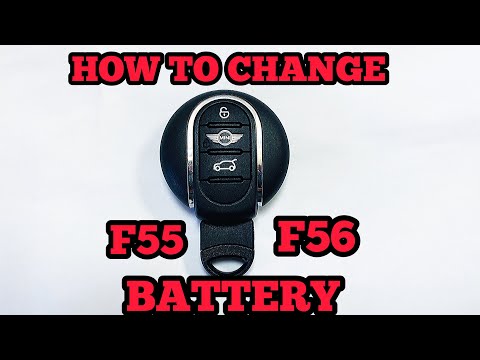
In this video tutorial, learn how to disassemble and open the remote to replace the battery on the Mini Cooper F55 and F56 in simple steps. First, ta…
Mini
(2014-2023 /
F56, F57, F54, F55)
In this short and simple video, discover how to disassemble and replace the battery of the electronic key remote on a Mini Cooper F55 and F56. First,…

Mini
(2014-2023 /
F56, F57, F54, F55)
Today, we will discover the instructions that will allow us to repair the panoramic sunroof on a Mini Cooper. First, get inside the vehicle and start…
Other guides you may be interested in
|
Frequently Asked QuestionsHow to Connect the Cables to the Battery of the Citroen Xsara Picasso?
In this tutorial, you will see how to connect the cables to the battery of the Citroen Xsara Picasso, useful if you need to recharge it or perform an emergency start. First, ensure the key is not inserted, then open the bonnet and move to the front of the left headlamp. Next, locate the bolt just behind the filter box and connect the positive terminal clamp to it. Now you can connect the negative terminal to any point on the chassis, such as the indicated point. Once the operation is complete, ensure you disconnect the negative first and then the positive. by ScegliAuto More videos
|

|
For advertising on this site Write to info@scegliauto.com
ScegliAuto is not responsible for any inaccuracy of the data in the lists. To report any inaccuracy or your business (if you own the business in question), please write to info@scegliauto.com
Number of seconds to generate the page: 0.125
(c) ScegliAuto 2026 - info@scegliauto.com - Privacy policy VAT number: IT01247470535 |
