
|
Do it yourself
| |||
| ||||


Replacing brake bulbs on Mini Clubman
Model: Mini Mini
Countryman1, R60
- Years 2010-2016
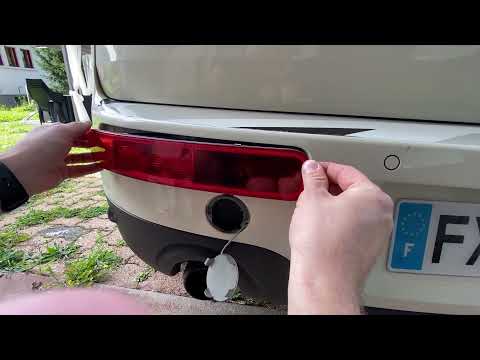
Press the plastic cover under the light so that it comes out of its seat. If you look from the bottom up inside this compartment you will notice a small, slightly hidden cross screw that you have to unscrew. It is the only screw that holds the stop light in place, so once it is unscrewed, only the connector will keep the light connected to the car. There is no need to disconnect this connector, simply remove the spotlight and unscrew the bulb from the bottom cover. Remove the bulb and insert the new one you purchased, then reassemble the spotlight by tightening only the fixing screw.
Posted on 2 February 2021 by ScegliAuto
Video tutorial
Related tutorials
Mini
(2007-2014 /
R56, R57, R55)
Today, we will see the instructions to reset the brake pad service light of the Mini Clubman. First, get inside the vehicle and turn on the instrumen…
Mini
(2014-2023 /
F57, F56, F55, F54)
Replacing the brake light bulb, in the Mini Clubman, is an extremely simple and fast operation, in this tutorial we can see how to proceed. To do thi…
Mini
(2014-2023 /
F57, F56, F55, F54)
The guide shows how to replace the brake light bulbs of the Mini Clubman. After securing the vehicle and opening the rear doors, it is necessary to u…
Other guides you may be interested in
|
How to Replace the Front Headlight Bulb in a Toyota Auris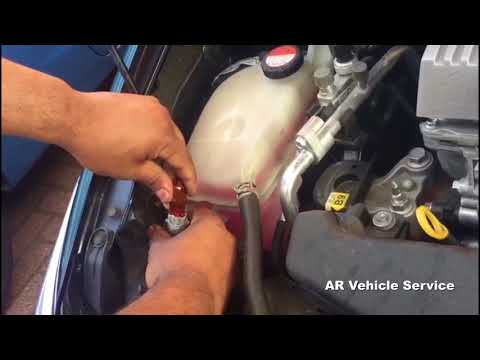
To perform this simple task, first disconnect the battery to protect any sensitive circuits. Then, to access the back of the headlight, lift the windscreen washer fluid funnel. Now, remove the covers at the back of the headlight to replace the necessary bulbs. Extract the bulb and disconnect the connector that powers it. Finally, reverse the steps for refitting. by ScegliAuto More videos
|

|
For advertising on this site Write to info@scegliauto.com
ScegliAuto is not responsible for any inaccuracy of the data in the lists. To report any inaccuracy or your business (if you own the business in question), please write to info@scegliauto.com
Number of seconds to generate the page: 0.080
(c) ScegliAuto 2026 - info@scegliauto.com - Privacy policy VAT number: IT01247470535 |