
|
Do it yourself
| |||
| ||||


Replacing the Front Bumper
Model: Mini Mini
R53, R50, R52
- Years 2001-2007
Using a ratchet spanner, start by removing the screws inside the engine bay. Lift the vehicle and unscrew all the screws; the anchor points are distributed around the bumper, underneath the vehicle, and behind the wing. Now it is possible to gently remove the entire bumper. Start by lifting one corner and then detach all the plastic retaining clips. For fitting the new bumper, proceed in reverse. After positioning the bumper at the front of the vehicle, push firmly on the edges to engage the plastic clips. Refit all the screws.
Updated on 8 February 2026 by ScegliAuto
Video tutorial
Related tutorials
Mini
(2001-2007 /
R53, R50, R52)
.. the main steps useful for disassembling and replacing the front bumper of the Mini Cooper. First, we open the hood and start removing the lower plastic.. …

Mini
(2010-2016 /
R60, Countryman1)
Today's step-by-step instructions will show us how to disassemble and replace the front bumper of the Mini Countryman. First, we open the car's hood …

Mini
(2007-2014 /
R55, R57, R56)
.. will show us the process of disassembling and replacing the front bumper of the Mini Cooper, following the instructions provided below. First, we open.. …
Other guides you may be interested in
|
How to Replace the Front Headlight Bulb in a Toyota Auris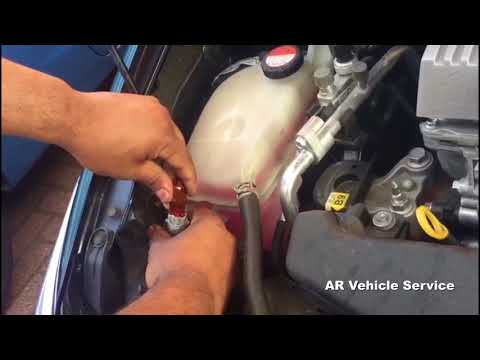
To perform this simple task, first disconnect the battery to protect any sensitive circuits. Then, to access the back of the headlight, lift the windscreen washer fluid funnel. Now, remove the covers at the back of the headlight to replace the necessary bulbs. Extract the bulb and disconnect the connector that powers it. Finally, reverse the steps for refitting. by ScegliAuto More videos
|
|
For advertising on this site Write to info@scegliauto.com
ScegliAuto is not responsible for any inaccuracy of the data in the lists. To report any inaccuracy or your business (if you own the business in question), please write to info@scegliauto.com
Number of seconds to generate the page: 0.071
(c) ScegliAuto 2026 - info@scegliauto.com - Privacy policy VAT number: IT01247470535 |