
|
Do it yourself
| |||
| ||||


How do I reset the tire pressure warning light on the Mini Countryman?
Model: Mini Mini
Countryman1, R60
- Years 2010-2016
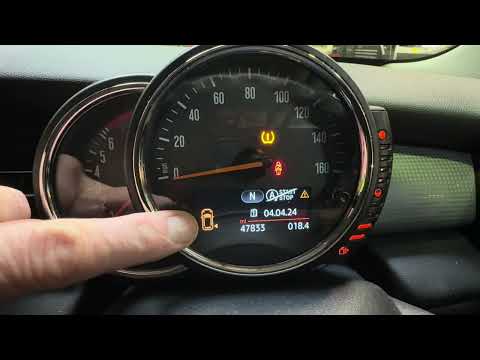
In order to reset the tire pressure warning light on the Mini Countryman, you need to inflate all the tires that are at an insufficient inflation pressure. They should be brought back to the recommended pressure found inside the driver's door pillar, written on the sticker. Once the tires are inflated, you will need to turn on the instrument cluster and navigate to the Vehicle Information from the center console display. It will be necessary to select the item to Confirm the tire pressure and wait a few seconds for the sensors to read the new tire pressure.
Posted on 13 July 2022 by ScegliAuto
Video tutorial
Related tutorials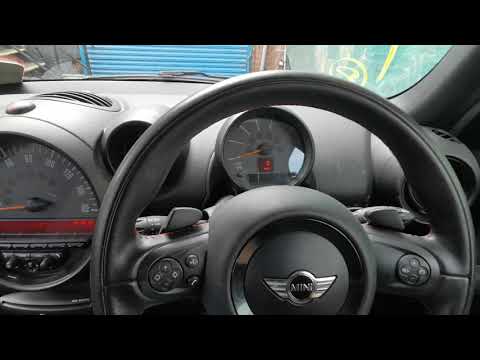
Mini
(2010-2016 /
Countryman1, R60)
In the event of a puncture or loss of pressure in one or more tires, with subsequent restoration, the warning light must be reset manually in the Min…

Mini
(2010-2016 /
Countryman1, R60)
The activation of the TPMS light indicates a possible puncture or pressure loss from one or more tires; in this guide we will see how to reset the ti…
Mini
(2010-2016 /
Countryman1, R60)
If the orange tire pressure warning light on the instrument panel of your 2015 Mini Countryman continues to stay on, it means that the control unit h…
Other guides you may be interested in
|
How to Replace the Air Control Knob Bulbs in a Peugeot 207
How to replace the bulbs for the air conditioning control knobs in a Peugeot 207? In this video, see how to proceed. Remove the side trim plastics using a plastic lever; disconnect the locking levers of the air conditioning controls with a screwdriver (levering them out), then remove the parts from the instrument panel (as shown in the video). Be careful not to break the plastic tabs that secure the frames. After removing the knobs from the panel, replace the bulbs or LEDs with new ones (remove the onboard computer if replacing the LEDs). Finally, reassemble all the parts in reverse order. by ScegliAuto More videos
|

|
For advertising on this site Write to info@scegliauto.com
ScegliAuto is not responsible for any inaccuracy of the data in the lists. To report any inaccuracy or your business (if you own the business in question), please write to info@scegliauto.com
Number of seconds to generate the page: 0.065
(c) ScegliAuto 2026 - info@scegliauto.com - Privacy policy VAT number: IT01247470535 |