
|
Do it yourself
| |||
| ||||


How to remove the engine warning light in the Mini Cooper?
Model: Mini Mini
Countryman1, R60
- Years 2010-2016
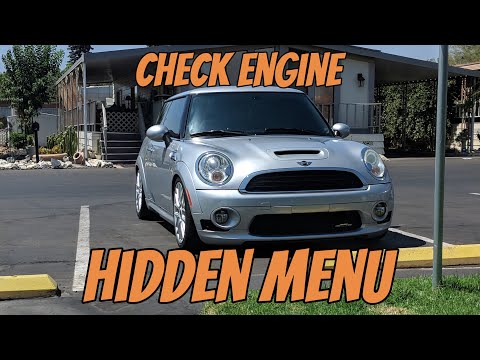
In this video tutorial, you can see how to remove the yellow engine malfunction warning light in the Mini Cooper. It is important to note that this procedure does not resolve the issue; it merely removes the light. However, it is a procedure that helps identify the type of fault. As shown, you will need the scan tool displayed in the video, which connects to the port under the dashboard on the left side. Once connected, turn on the ignition and start the scan; the error code related to the problem will appear on the display. Navigate through the menu to the 'erase' option, as shown in the video, and press the Enter button to remove the light. Finally, turn off and then turn on the ignition again to verify that everything has gone smoothly.
Updated on 29 April 2026 by ScegliAuto
Video tutorial
Related tutorials
Mini
(2001-2007 /
R53, R52, R50)
If the tire pressure warning light on your Mini Cooper R52 continues to stay on constantly on the instrument panel and you want to manually reset it,…
Mini
(2007-2014 /
R56, R55, R57)
Let’s briefly go over the main instructions to manually reset the engine warning light on the Mini Cooper. First, get in the car and turn on the igni…

Mini
(2014-2023 /
F56, F57, F54, F55)
In this guide we will see the instructions that will allow us to disassemble and replace the rear taillight of the Mini Cooper. First of all, we open…
Other guides you may be interested in
|
Frequently Asked QuestionsHow to Replace the Remote Battery for the Volvo XC40?
In this tutorial, you will see how to replace the battery in the remote for the Volvo XC40, a very simple and quick operation. For this, you will need a replacement battery of type CR2032 and possibly a small flathead screwdriver. First, remove the front cover by pressing the button on the metal ring, then locate the second button, press it as well, and remove the opposite cover. Next, open the circular cap, take out the old battery, and insert the new one in the opposite direction. Finally, reassemble everything. by ScegliAuto More videos
|

|
For advertising on this site Write to info@scegliauto.com
ScegliAuto is not responsible for any inaccuracy of the data in the lists. To report any inaccuracy or your business (if you own the business in question), please write to info@scegliauto.com
Number of seconds to generate the page: 0.098
(c) ScegliAuto 2026 - info@scegliauto.com - Privacy policy VAT number: IT01247470535 |
