
|
Do it yourself
| |||
| ||||


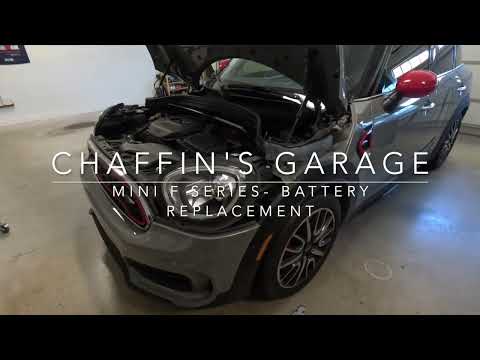
Mini Countryman battery replacement
Model: Mini Mini
R60, Countryman1
- Years 2010-2016
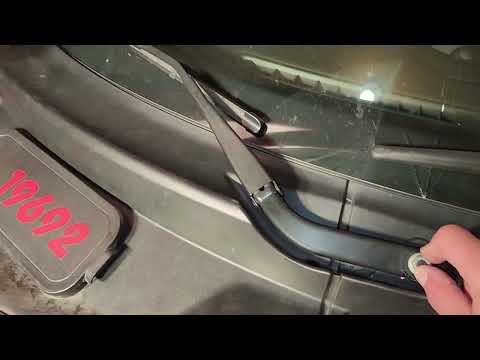
First we go to open the hood of our Mini. Next to the windshield wipers, on the left we find a cover. We remove the cover and now the battery will be visible. To the left of the battery we find two bolts of the cover and we go to unscrew them. We also remove the gasket that runs through the cover as much as needed. Now we are going to disassemble the wiper on the battery side, removing the cover that covers the bolt to be unscrewed. Once unscrewed, we close the hood momentarily and take out the windshield wiper. We reopen the hood and now it will be possible to remove the battery cover by levering the three clips underneath until you hear some clicks. Once extracted we can access the battery and begin to unscrew the bolts of the poles, negative and positive. Now with the help of an extension we are going to unscrew the bolt of the retainer located at the base of the battery. Now we can take out the old battery and replace it with the new one. Once the new battery has been positioned, let's put the latch back and reconnect the poles. Tighten the poles well, let's put the cover back by pushing down and tapping until it clicks, screw the two bolts on the left and insert the gasket to the cover. We can reassemble the wiper and put the cover back over the battery and the job is done!
Posted on 22 May 2022 by ScegliAuto
Video tutorial
Related tutorials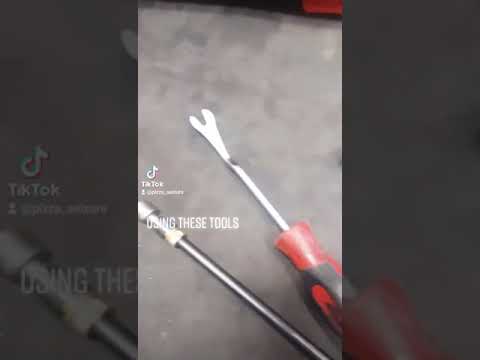
Mini
(2017-2023 /
Countryman2, F60)
The replacement of the Mini Countryman battery is done by opening the hood, so that access can be gained to the components located inside the engine …
Mini
(2017-2023 /
Countryman2, F60)
The steps illustrated in this guide will show us the process of disassembling and replacing the battery of the Mini Countryman. First, we open the ho…
Mini
(2010-2016 /
R60, Countryman1)
.. The Mini Countryman battery replacement operation is carried out by opening the bonnet, so that you can have.. …
Other guides you may be interested in
|
Frequently Asked QuestionsResetting the Tyre Pressure Light on a Fiat 500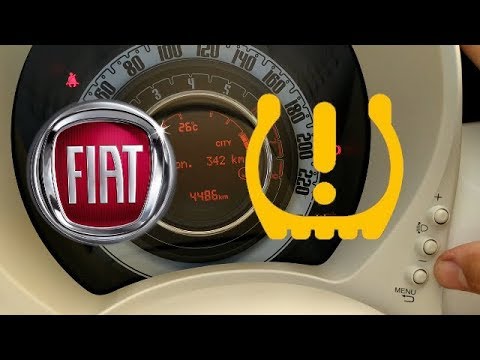
In this brief and simple video tutorial, you will learn how to reset the tyre pressure warning light on a Fiat 500. First, get into your vehicle and navigate to the menu by pressing the appropriate button: go to the tyre pressure option and click again. Then click 'yes' again, and it will automatically perform the procedure to reset the tyre pressure warning light! Remember, before carrying out this operation, check for any faults with the tyres: resolve the issue and then reset the light! by ScegliAuto More videos
|

|
For advertising on this site Write to info@scegliauto.com
ScegliAuto is not responsible for any inaccuracy of the data in the lists. To report any inaccuracy or your business (if you own the business in question), please write to info@scegliauto.com
Number of seconds to generate the page: 0.088
(c) ScegliAuto 2026 - info@scegliauto.com - Privacy policy VAT number: IT01247470535 |