
|
Do it yourself
| |||
| ||||


How to remove the dashboard of the Mini Cooper r50
Model: Mini Mini
R52, R50, R53
- Years 2001-2007
The guide shows how to remove the dashboard of the Mini Cooper r50. The first operation to perform is to open the left side panel and unscrew the two Torx T20 screws. Do the same on the right side. Detach the dashboard trim panels by detaching the clips from bottom to top. Unscrew the Torx screws that will come into view and remove the plastic cover from the central part of the dashboard. Unscrew the screws located in the upper part of the dashboard and disconnect the two earth cables from the lower part of the dashboard. At this point it is possible to remove the dashboard.
Posted on 25 July 2022 by ScegliAuto
Video tutorial
Related tutorials
Mini
(2001-2007 /
R52, R50, R53)
If you own a 2003 Mini Cooper R50 and want to find out where the OBD port is located, you just need to read the following guide and apply what is des…

Mini
(2001-2007 /
R52, R50, R53)
In the following guide dedicated to your Mini Cooper R50, we will discover the various steps you need to take to replace the rear headlight bulb inde…
Mini
(2001-2007 /
R52, R50, R53)
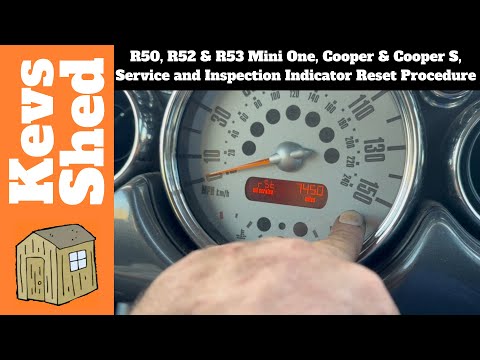
To manually reset the service light on the dashboard display of your Mini Cooper R50, simply follow the procedure described in our new guide dedicate…
Other guides you may be interested in
|
How to Remove the Front Seats from a Classic Fiat 500
How to remove the front seats from a classic Fiat 500? In this video, follow these steps: first, slide the seats forward and lift them up, then unscrew the retaining bolts on the rails fixed to the car's chassis using a socket or impact driver (use appropriate release agents if the bolts do not unscrew). Remove the retaining bolts at the bottom of the car (use spanners on both the upper and lower parts of the connecting bolts). Finally, install the new front seat by following the disassembly steps mentioned earlier. by ScegliAuto More videos
|
|
For advertising on this site Write to info@scegliauto.com
ScegliAuto is not responsible for any inaccuracy of the data in the lists. To report any inaccuracy or your business (if you own the business in question), please write to info@scegliauto.com
Number of seconds to generate the page: 0.080
(c) ScegliAuto 2026 - info@scegliauto.com - Privacy policy VAT number: IT01247470535 |