
|
Do it yourself
| |||
| ||||


How to Remove the Rear Door Panel of a Mini
Model: Mini Mini
F56, F57, F54, F55
- Years 2014-2023
To remove the rear door panel of a Mini, loosen all the screws securing it inside the door. These screws are located in the handle recess, near the window switch panel, and at the bottom of the panel. Once all these screws are loosened, you can start detaching the panel, disconnecting all the connectors inside as well. Once the old panel is removed, you can insert the new one, securing it with the previously removed screws.
Updated on 15 June 2026 by ScegliAuto
Video tutorial
Related tutorials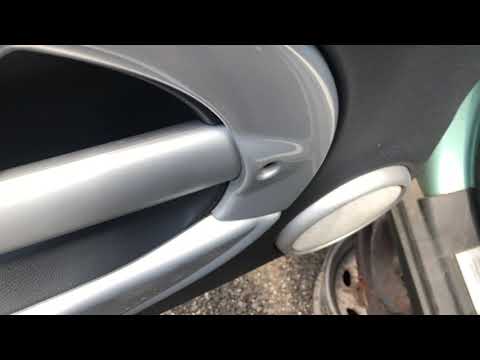
Mini
(2001-2007 /
R53, R52, R50)
This guide reveals the procedure to remove the door panel on the Mini Cooper, following these simple steps. First, open the front door and start by u…

Mini
(2001-2007 /
R53, R52, R50)
In this tutorial, you will learn how to remove the front door panel of a Mini Cooper. First, open the door and remove the reflector using a very thin…
Mini
(2010-2016 /
Countryman1, R60)
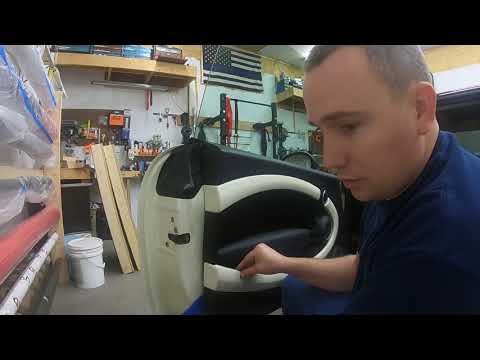
Removing the door panel of a Mini? Let's look at removing the left door panel. Pry around the frame of the door opening handle with a spatula, then r…
Other guides you may be interested in
|
How to Connect the Cables to the Battery of the Citroen Xsara Picasso?
In this tutorial, you will see how to connect the cables to the battery of the Citroen Xsara Picasso, useful if you need to recharge it or perform an emergency start. First, ensure the key is not inserted, then open the bonnet and move to the front of the left headlamp. Next, locate the bolt just behind the filter box and connect the positive terminal clamp to it. Now you can connect the negative terminal to any point on the chassis, such as the indicated point. Once the operation is complete, ensure you disconnect the negative first and then the positive. by ScegliAuto More videos
|
|
For advertising on this site Write to info@scegliauto.com
ScegliAuto is not responsible for any inaccuracy of the data in the lists. To report any inaccuracy or your business (if you own the business in question), please write to info@scegliauto.com
Number of seconds to generate the page: 0.239
(c) ScegliAuto 2026 - info@scegliauto.com - Privacy policy VAT number: IT01247470535 |
