
|
Do it yourself
| |||
| ||||


How to replace the rear fog light bulb on your Mini Cooper
Model: Mini Mini
R52, R53, R50
- Years 2001-2007
Let's briefly see the instructions necessary to disassemble and replace the rear fog light bulb of the Mini Cooper. First of all, let's move to the rear of the car and start disconnecting the electrical connector, together with the bulb holder and the bulb, which we find on the rear of the taillight; then we replace the bulb bulb with the new one, having the same socket, as shown in the video. At this point, insert the bulb in the socket and reassemble everything on the rear fog light, following the video tutorial to the end!
Posted on 25 November 2022 by ScegliAuto
Video tutorial
Related tutorials
Mini
(2007-2014 /
R57, R55, R56)
To replace the rear fog lights on the Mini Cooper, follow these steps: 1) Disconnect the battery. 2) Gently pry the red side tabs, being careful not …

Mini
(2010-2016 /
R60, Countryman1)
In this video, we will see how to replace the rear fog light bulb of the Mini Cooper R60 specifically, but more generally of all Minis from 2004 to 2…
Mini
(2010-2016 /
R60, Countryman1)
Intervening with a timely replacement of the fog lights is very important as it reduces any inconvenience and dangers when driving on days with a lot…
Other guides you may be interested in
|
How to Replace the Fan Resistor on a Renault Scenic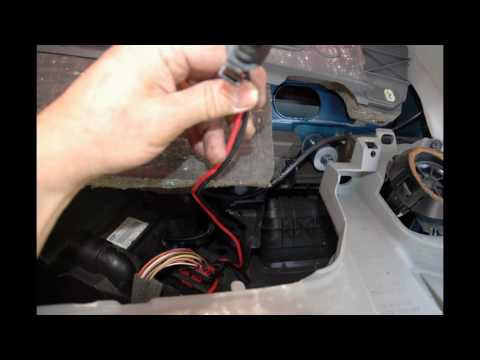
How to replace the fan resistor on a Renault Scenic. In this video, learn how to perform the disassembly: use a lever to remove the plastic under the glove compartment, and unscrew the cover (where the resistor is located) with a screwdriver. Disconnect the large connector of the resistor, then pull it out from the cabin. Insert a new fan resistor (connect the power connector). Finally, refit the cover and tighten the screws. Check the correct assembly of the previously fitted parts and test the correct operation of the fan. by ScegliAuto More videos
|
|
For advertising on this site Write to info@scegliauto.com
ScegliAuto is not responsible for any inaccuracy of the data in the lists. To report any inaccuracy or your business (if you own the business in question), please write to info@scegliauto.com
Number of seconds to generate the page: 0.005
(c) ScegliAuto 2026 - info@scegliauto.com - Privacy policy VAT number: IT01247470535 |