
|
Do it yourself
| |||
| ||||


How to Replace the Headlining on a Mini Cooper?
Model: Mini Mini
R53, R52, R50
- Years 2001-2007
To replace the headlining on a Mini Cooper, remove all components that obstruct the headlining's removal: loosen all screws securing the internal rear-view mirror, sun visors, side handles, and interior lights. By also detaching the plastic covers of the door pillars, you can pull the headlining out through the rear hatch, allowing you to insert the new replacement part. After installation, reattach all previously removed parts.
Updated on 3 July 2026 by ScegliAuto
Video tutorial
Related tutorials
Mini
(2001-2007 /
R53, R52, R50)
In order to replace the headliner of the Mini Cooper S, you need to loosen all the screws that secure the lining to the top of the roof, so that it c…

Mini
(2014-2023 /
F56, F57, F54, F55)
Today, we will discover the instructions that will allow us to repair the panoramic sunroof on a Mini Cooper. First, get inside the vehicle and start…
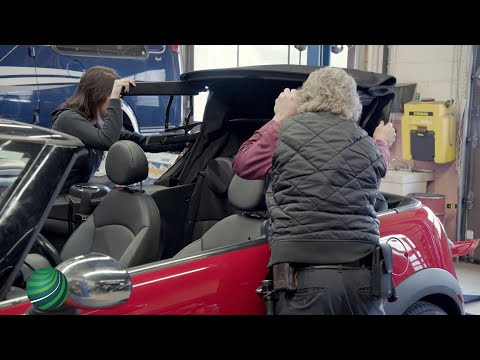
Mini
(2007-2014 /
R56, R55, R57)
In this video tutorial, see how to remove the roof cover on a Mini Cooper R57. First, get inside the car and fully lower the windows. Then, remove th…
Other guides you may be interested in
|
Frequently Asked QuestionsHow to Adjust the Brightness of the Instrument Cluster on a Peugeot 3008?
To adjust the brightness of the instrument cluster on a Peugeot 3008, you need to turn on the ignition and access the settings via the menu located in the central area of the dashboard. In the screen that appears, select the "Display Configuration" option: now, by selecting the "Brightness" option, you can adjust it using the dedicated slider that will appear on the screen. The adjustment should be made with the headlights on as well as with them off. Once the adjustment is complete, you can turn off the instrument cluster. by ScegliAuto More videos
|
|
For advertising on this site Write to info@scegliauto.com
ScegliAuto is not responsible for any inaccuracy of the data in the lists. To report any inaccuracy or your business (if you own the business in question), please write to info@scegliauto.com
Number of seconds to generate the page: 0.068
(c) ScegliAuto 2026 - info@scegliauto.com - Privacy policy VAT number: IT01247470535 |
