
|
Do it yourself
| |||
| ||||


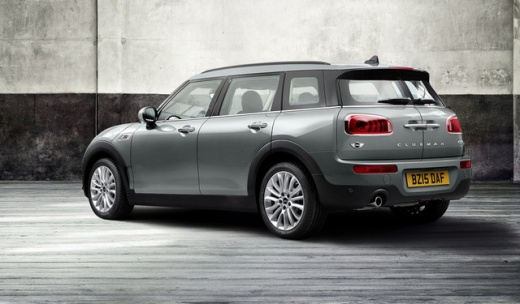
How to Remove the Rear Light of the Mini Cooper
Model: Mini Mini
F55, F54, F56, F57
- Years:
2014, 2015, 2016, 2017, 2018, 2019, 2020, 2021, 2022, 2023
Video tutorial
This video demonstrates how to replace the rear light on the Mini Cooper F55, F56, and F57. This procedure is useful when the lights are damaged from wear over time and you want to replace them with new lights in good condition. This procedure is very simple and quick to perform. To remove the light, gently pry with a plastic trim tool or a flathead screwdriver along the edges to remove the cover. Once the cover is removed, use a T20 Torx key to unscrew the locking screws of the light. After removing the screws, pull the light outwards. Once the light is removed, disconnect the connector. After disconnecting the connector, proceed with the replacement by attaching the new light to the connector, inserting it into place, and screwing in the previously removed screws. Finally, reinsert the plastic cover of the light.
Updated on 10 August 2026 by ScegliAuto
Related tutorials
Mini
(2007-2014 /
R57, R56, R55)
Today, you will learn how to remove the rear lamp on a Mini Cooper for replacement. To remove the rear lamp, you will need a star screwdriver and a p…

Mini
(2007-2014 /
R57, R56, R55)
Before starting, open the front bonnet of your Mini Cooper. Begin by unscrewing and removing the bolts that secure the front headlamp to the vehicle.…
Mini
(2007-2014 /
R57, R56, R55)
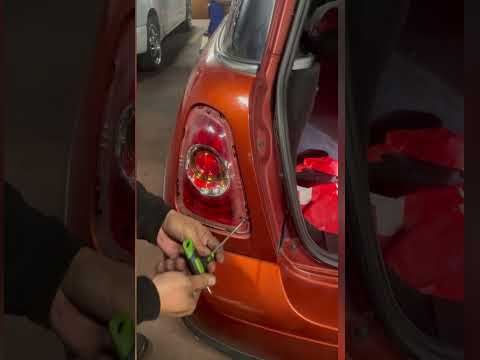
If you need to remove one of the rear headlamps from your Mini Cooper R56 but don't know how, don't worry as we will explain step by step how to comp…
Other guides you may be interested in |
How to Reset the AdBlue Warning Light on a Peugeot Boxer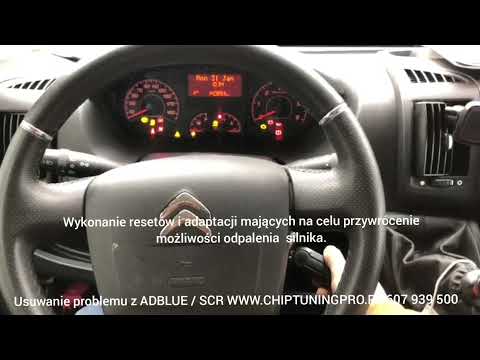
To reset the AdBlue system on a 2018 Peugeot Boxer, follow these steps: Start the engine and ensure the vehicle is parked in a well-ventilated area. Locate the "MENU" button on the dashboard or steering wheel controls. Press and hold the "MENU" button until the menu options appear on the display. Use the arrow buttons or scroll wheel to access the "Vehicle Settings" or "Settings" menu. Select the "AdBlue" or "AdBlue System" option. Look for the "Recharge" or "Reset" option in the AdBlue menu. Once you find the reset option, select it and confirm your choice when prompted. The system will be reset, and a confirmation message may appear on the display. Turn off the engine and wait a few seconds. Restart the engine and check that the AdBlue system has been reset. by ScegliAuto More videos
|
|
For advertising on this site Write to info@scegliauto.com
ScegliAuto is not responsible for any inaccuracy of the data in the lists. To report any inaccuracy or your business (if you own the business in question), please write to info@scegliauto.com
Number of seconds to generate the page: 0.084
(c) ScegliAuto 2026 - info@scegliauto.com - Privacy policy VAT number: IT01247470535 |
