
|
Do it yourself
| |||
| ||||


How to Remove and Reinstall the Washer Fluid Reservoir
Model: Mini Mini
R56, R55, R57
- Years 2007-2014
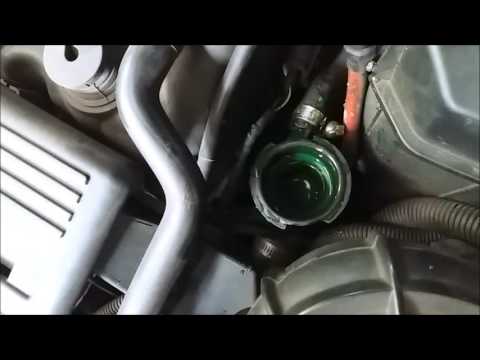
To remove and install the washer fluid reservoir, first remove the front rubber and disconnect the wires and connectors attached to the pump. Then, empty the reservoir. At this point, use a screwdriver to pry the washer fluid reservoir loose. Open the bonnet and detach the joint. Next, remove the front headlamp, disconnecting its connectors. To extract the reservoir, you must first pull out the radiator tank as it is located directly in front. Set it aside and reinstall it later. With some persistence, also remove the pipe between the two reservoirs. Finally, proceed to slide out the washer fluid reservoir. To reinstall it, follow the same instructions in reverse.
Updated on 24 February 2026 by ScegliAuto
Video tutorial
Related tutorials
Mini
(2010-2016 /
Countryman1, R60)
Replacing the brake fluid in a Mini Cooper is a straightforward task that can be done independently. After purchasing brake fluid online or from an a…
Mini
(2001-2007 /
R53, R52, R50)
In today's video, you will see how to add or top up the coolant or antifreeze on the Mini Cooper R50, as well as on later models. First, open the bon…

Mini
(2014-2023 /
F56, F57, F54, F55)
In this video we see how to check the fluid levels on the Mini One: we start by opening the hood. The oil level is electronically monitored, so start…
Other guides you may be interested in
|
How to Replace the Remote Battery for the Volvo XC40?
In this tutorial, you will see how to replace the battery in the remote for the Volvo XC40, a very simple and quick operation. For this, you will need a replacement battery of type CR2032 and possibly a small flathead screwdriver. First, remove the front cover by pressing the button on the metal ring, then locate the second button, press it as well, and remove the opposite cover. Next, open the circular cap, take out the old battery, and insert the new one in the opposite direction. Finally, reassemble everything. by ScegliAuto More videos
|

|
For advertising on this site Write to info@scegliauto.com
ScegliAuto is not responsible for any inaccuracy of the data in the lists. To report any inaccuracy or your business (if you own the business in question), please write to info@scegliauto.com
Number of seconds to generate the page: 0.061
(c) ScegliAuto 2026 - info@scegliauto.com - Privacy policy VAT number: IT01247470535 |
