
|
Do it yourself
| |||
| ||||


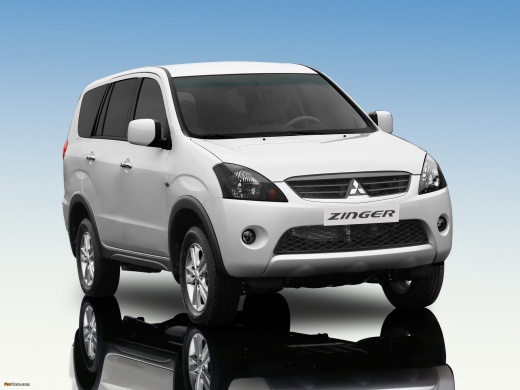
How to Replace the Front Wheel Bearing of the Mitsubishi Zinger
Model: Mitsubishi Zinger
MK 1
- Years:
2005, 2006, 2007, 2008, 2009, 2010, 2011, 2012, 2013, 2014, 2015, 2016
Video tutorial
Here’s how to replace the front wheel bearing of the vehicle: first, remove the wheel and rotate the hub to access the back to unscrew the brake caliper mounting bolts using a socket wrench. Next, remove the brake disc mounting bolts and also the rear nut securing the hub. Then, take the appropriate jig needed to extract the hub and secure it. Apply pressure to extract the hub and then remove the bearing from inside using a bearing puller. Clean the seat, take the new bearing, insert it into the housing, and then reassemble the various components that were removed earlier.
Updated on 25 June 2026 by ScegliAuto
Related tutorials
Mitsubishi Zinger
(2005-2024 /
MK 1)
In this video, you will learn how to create a raised platform in the trunk of the Mitsubishi Zinger. If you want to gain more space in your Mitsubish…
Mitsubishi Zinger
(2005-2024 /
MK 1)
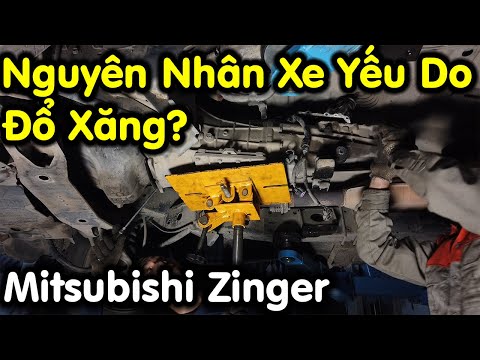
To replace the clutch on the Mitsubishi Zinger, you need to lift the car to access the components in the lower part of the engine compartment. It wil…
Mitsubishi Zinger
(2005-2024 /
MK 1)
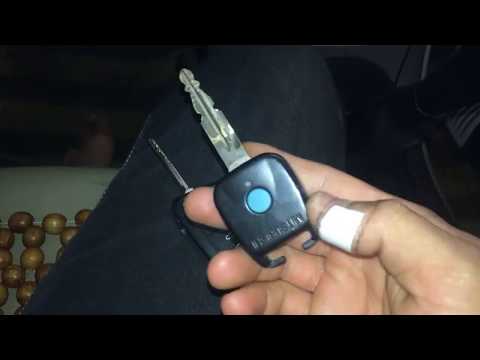
To reprogram the remote for the Mitsubishi Zinger, insert the key into the ignition switch and turn it between the 'On' and 'Off' positions four time…
ScegliAuto offers an extensive international collection of automotive tutorials available in 12 languages. Each guide combines instructional videos with original explanations written by experienced human editors, along with information about the car models covered.
Other guides you may be interested in
|
How to Replace the Front Headlamp Bulb in a Kia Stonic?
Regardless of the type of bulb to be used, for example, the video shows how to install an H7 in a headlamp that involves similar work steps to the Kia Stonic, it is important to ensure that the instrument panel and lights are turned off. To replace the front headlamp bulb on the vehicle in question, open the bonnet, remove the plastic rear cap of the headlamp unit, unclip the metal fastener, and extract the bulb holder. Finally, simply remove the bulb to be replaced from the holder, insert the new one, and reassemble everything. by ScegliAuto More videos
|
|
For advertising on this site Write to info@scegliauto.com
ScegliAuto is not responsible for any inaccuracy of the data in the lists. To report any inaccuracy or your business (if you own the business in question), please write to info@scegliauto.com
Number of seconds to generate the page: 0.025
(c) ScegliAuto 2026 - info@scegliauto.com - Privacy policy - About us VAT number: IT01247470535 |
