
|
Do it yourself
| |||
| ||||


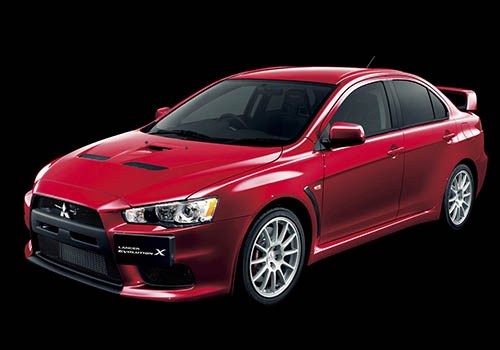
Instructions for Removing the Third Brake Light
Model: Mitsubishi Lancer
MK 9
- Years:
2007, 2008, 2009, 2010, 2011, 2012, 2013, 2014, 2015, 2016, 2017, 2018
Video tutorial
To remove the third brake light fitted to the tailgate, first remove the sound-absorbing carpet lining by disengaging the relevant pressure fasteners. Once you reach the third brake light, undo the fixing nuts, disconnect the power connector, and remove it. Proceed in reverse for installation, aligning it with its seat, tightening the relevant fixing nuts, and reconnecting the power connector. Ensure correct operation before refitting the sound-absorbing lining with the pressure fasteners.
Updated on 15 February 2026 by ScegliAuto
Related tutorials
Mitsubishi Lancer
(2000-2006 /
MK 8)
Today we will go through the steps that will allow us to disassemble and replace the rear light and its bulbs on the Mitsubishi Lancer. First, let's …

Mitsubishi Lancer
(2007-2020 /
MK 9)
The rear light consists of two parts, one fixed to the bodywork and the other attached to the rear tailgate; start by opening the tailgate and removi…

Mitsubishi Lancer
(2007-2020 /
MK 9)
To replace the rear headlamp bulb, it is not necessary to remove the headlamp itself, but this operation does require the removal of the sound-absorb…
Other guides you may be interested in
|
How to Open the Fuel Flap on a Volkswagen Tiguan?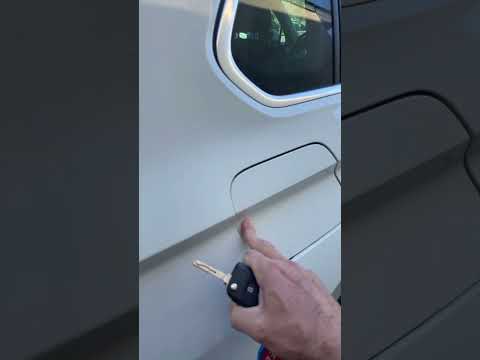
To open the fuel flap on a Volkswagen Tiguan, first unlock the car using the appropriate button on the remote. This will open the car and unlock the mechanism that controls the fuel flap. At this point, apply light pressure to the left side of the flap to open it and access the cap underneath. Once this is unscrewed, you can refuel and then close everything. by ScegliAuto More videos
|
|
For advertising on this site Write to info@scegliauto.com
ScegliAuto is not responsible for any inaccuracy of the data in the lists. To report any inaccuracy or your business (if you own the business in question), please write to info@scegliauto.com
Number of seconds to generate the page: 0.025
(c) ScegliAuto 2026 - info@scegliauto.com - Privacy policy VAT number: IT01247470535 |
