
|
Do it yourself
| |||
| ||||


Model: Moto Guzzi V7 Custom
To change the oil in the drive shaft of a Moto Guzzi V7, start by placing the motorcycle on a stable stand to keep it perfectly balanced. Ensure that the engine is cold before beginning the work. Locate the oil drain plug for the drive shaft, which is situated at the bottom of the rear transmission assembly. Before unscrewing the plug, prepare a container to collect the used oil. Use an appropriate wrench to remove the drain plug and allow the old oil to completely drain into the container. In the meantime, you can remove the upper plug to facilitate the flow of oil. Check the magnetic plug for any metal residues, which could indicate wear in the transmission. Clean it thoroughly before reinstalling it. Once all the oil has drained, screw the drain plug back in and use a funnel to pour new oil into the upper hole. Check your V7 owner's manual for the recommended quantity and type of oil specified by the manufacturer. After filling the drive shaft, replace the upper plug and ensure it is tightly secured. Finally, clean up any oil spills and check for leaks. Test the motorcycle on the road to ensure that the transmission operates smoothly. This maintenance is essential for keeping the drive shaft in optimal condition and ensuring a long lifespan.
Posted on 22 December 2025 by ScegliAuto
Video tutorial
Related tutorials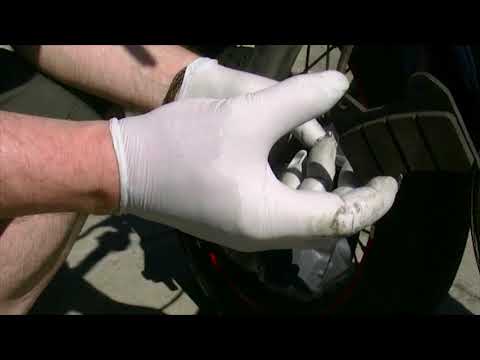
V7 Custom
Remove the two bolts that secure the brake caliper, as clearly seen in the first part of the video. Now, pull the caliper off the brake disc and then…
|
How to Replace the Clutch on a Triumph Speed Triple?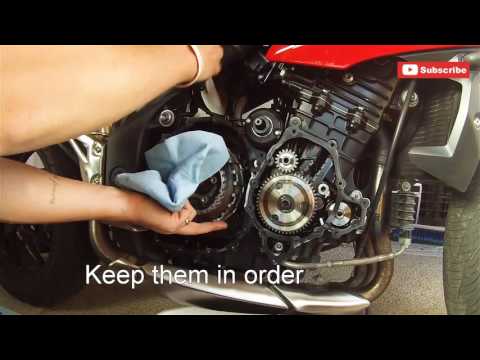
To replace the clutch on a Triumph Speed Triple, loosen the bolts securing the covers of the three casings located on the right side of the bike, namely the starter motor, the engine, and then the clutch. Once these covers are removed, you can access the bolts securing the clutch, unscrew them, and slide the clutch plates out of their housing. This will allow you to insert the new plates into their place, securing everything with the appropriate bolts; finally, reinstall all the casings. by ScegliAuto More videos
|
|
For advertising on this site Write to info@scegliauto.com
ScegliAuto is not responsible for any inaccuracy of the data in the lists. To report any inaccuracy or your business (if you own the business in question), please write to info@scegliauto.com
Number of seconds to generate the page: 0.022
(c) ScegliAuto 2026 - info@scegliauto.com - Privacy policy VAT number: IT01247470535 |
