
|
Do it yourself
| |||
| ||||


Where is and how to reach the fuse box of a Nissan Pathfinder?
Model: Nissan Pathfinder
MK 3, R51
- Years 2005-2012
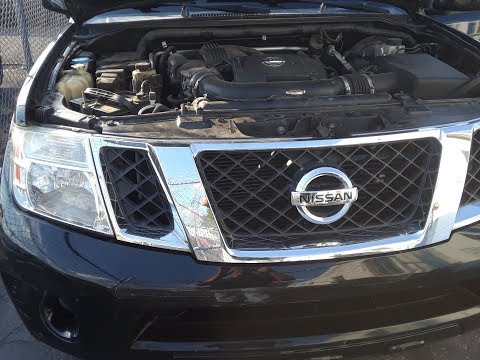
The fuse box of a Nissan Pathfinder is located in the engine compartment, on the driver's side, near the fender or firewall. To access it, lift the hood using the release lever located inside the vehicle, usually under the dashboard. Once opened, make sure to secure it with the support rod to work safely. Inside the engine compartment, look for a rectangular box with a plastic cover. This is the fuse box. To open it, gently lift the cover, being careful not to force the securing clips. On the back of the cover, you will find a fuse map indicating the function of each fuse, making it easier to identify the one to check or replace. Before proceeding with the replacement, make sure the vehicle is turned off to avoid possible short circuits. Use pliers to remove the damaged fuse and replace it with a new one of the same amperage. After finishing, reposition the cover of the box and check that all vehicle functions have returned to normal.
Posted on 4 January 2025 by ScegliAuto
This video is currently unavailable
Related tutorials
Nissan Pathfinder
(2005-2012 /
MK 3, R51)
In this new mini guide of ours, we will discover where the fuse box of your Nissan Pathfinder Mk3 is located. Before proceeding, make sure you have p…

Nissan Pathfinder
(2005-2012 /
MK 3, R51)
The air conditioning fuse on a 2006 Nissan Pathfinder is located inside the fuse box in the front hood. Specifically, the box is located between the …
Nissan Pathfinder
(2005-2012 /
MK 3, R51)
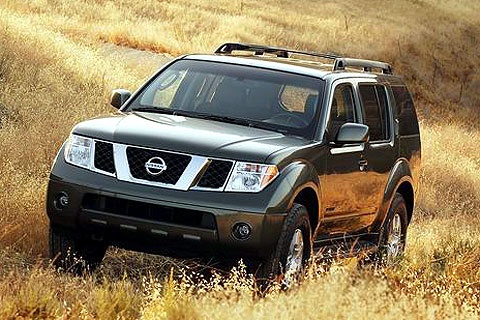
Reaching the fuse box in a Nissan Pathfinder is straightforward, but it requires caution, especially if you intend to replace or maintain the various…
Other guides you may be interested in
|
How to Remove the Front Bumper of the Citroën C4 Picasso?
To remove the front bumper of the Citroën C4 Picasso, you need to take out all the rivets and screws that secure the piece to its housing: these screws are located inside the wheel arches of the front wheels and at the central upper part of the bumper itself. Once all these fastening elements have been removed, you can detach the bumper from its seat by disconnecting the connectors inside and then insert the new replacement part. The new part can then be secured and connected properly, ensuring it is correctly fixed in place. by ScegliAuto More videos
|
|
For advertising on this site Write to info@scegliauto.com
ScegliAuto is not responsible for any inaccuracy of the data in the lists. To report any inaccuracy or your business (if you own the business in question), please write to info@scegliauto.com
Number of seconds to generate the page: 0.158
(c) ScegliAuto 2026 - info@scegliauto.com - Privacy policy VAT number: IT01247470535 |
