
|
Do it yourself
| |||
| ||||


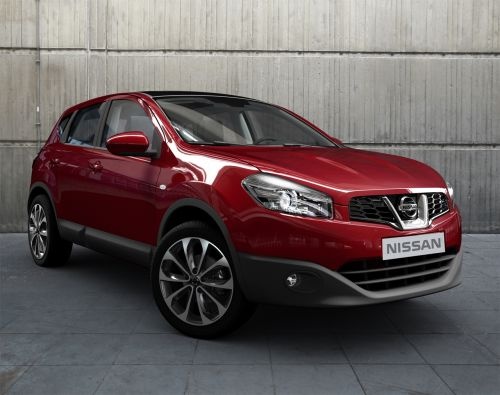
How to Repair the Tailgate Handle on a Nissan Qashqai
Model: Nissan Qashqai
J10
- Years:
2006, 2007, 2008, 2009, 2010, 2011, 2012, 2013, 2014
Video tutorial
In this helpful video, see how to repair the tailgate handle on a Nissan Qashqai. First, remove it from its housing by disconnecting all connectors, then clean it thoroughly and remove any paint where you need to apply glue for the new components. The adhesive is the two-component Pattex Power Epoxy Saldatutto. It withstands stress well and tolerates very high temperatures. Mix it and apply it quickly, as it will be too hard to spread on the surfaces within 3 minutes. You can find it on Amazon with the code B0083WIJ14, priced at £8.72, including delivery. You can find black screws and clips for fixing on picclick.it. By entering the code CL-02029, you can find the fixing screws and handles.
Updated on 15 July 2026 by ScegliAuto
Related tutorials
Nissan Qashqai
(2006-2014 /
J10)
In this tutorial we can see how to repair the tailgate handle of the Nissan Qashqai, a very common problem for this model. To do this, we will need t…

Nissan Qashqai
(2006-2014 /
J10)
In this tutorial we can see how to repair the tailgate handle of the Nissan Qashqai, an extremely simple operation and a very common problem in this …

Nissan Qashqai
(2006-2014 /
J10)
In this tutorial we can see how to repair the tailgate handle of the Nissan Qashqai, an extremely simple and quick operation. To do this we will need…
Other guides you may be interested in |
Frequently Asked QuestionsHow to Replace the Glow Plugs in the Fiat Ducato 2.3 Multijet?
Glow plugs, as the name suggests, raise the temperature of the engine in diesel vehicles to allow for easier starting. The manufacturer, in this case, Fiat for the Ducato 2.3 Multijet, specifies how often they should be replaced, and a warning light will illuminate when it's time. This work is carried out under the bonnet. First, remove the upper engine cover, then lift the coil and, using a socket wrench of the appropriate size, unscrew the glow plug to remove it from the base, followed by installing the new one. by ScegliAuto More videos
|
|
For advertising on this site Write to info@scegliauto.com
ScegliAuto is not responsible for any inaccuracy of the data in the lists. To report any inaccuracy or your business (if you own the business in question), please write to info@scegliauto.com
Number of seconds to generate the page: 0.020
(c) ScegliAuto 2026 - info@scegliauto.com - Privacy policy VAT number: IT01247470535 |
