
|
Do it yourself
| |||
| ||||



How to reset the service light on the Nissan Micra K14
Model: Nissan Micra
K14
- Years:
2017, 2018, 2019, 2020, 2021, 2022, 2023, 2024
Video tutorial
This video shows the procedure to reset the service light on the Nissan Micra K14. First, start the instrument cluster without turning the key. Then, using the right or left arrow button on the left side of the steering wheel, scroll until you find the settings option. Once found, select it with the OK button in the centre of the arrows. After selecting the settings, use the down arrow button to scroll to the maintenance option, then press OK and select the service option. Now, use the right arrow button to select the option on the right and press OK. Next, use the up arrow button to set the value to 15,000 kilometres and then press OK. Now select the reset option below the kilometres, confirm the reset by selecting yes, and the reset has been successfully completed.
Updated on 26 July 2026 by ScegliAuto
Related tutorials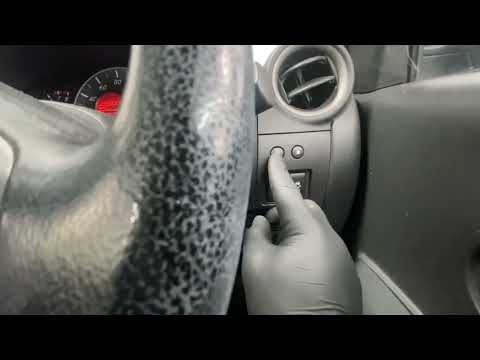
Nissan Micra
(2010-2017 /
K13)
This video shows how to reset the maintenance light on the Nissan Micra K13. It is recommended to perform this procedure only after servicing the veh…

Nissan Micra
(2017-2024 /
K14)
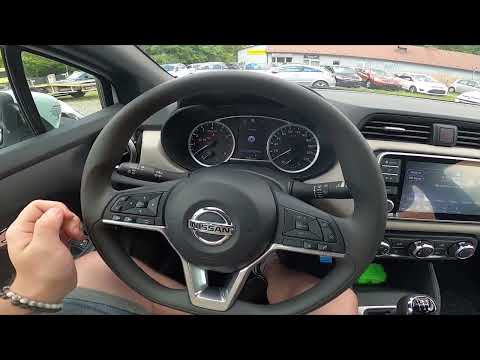
Let's see how to reset the service light in the Nissan Micra k14, an operation that follows those explained in the video guide available to us, such …
Nissan Micra
(2017-2024 /
K14)
If you have just inflated the tyres of your Nissan Micra K14 (2017-2023) or replaced one due to a puncture and want to manually reset the warning lig…
Other guides you may be interested in
|
Frequently Asked QuestionsHow to Replace the Glow Plugs in the Fiat Ducato 2.3 Multijet?
Glow plugs, as the name suggests, raise the temperature of the engine in diesel vehicles to allow for easier starting. The manufacturer, in this case, Fiat for the Ducato 2.3 Multijet, specifies how often they should be replaced, and a warning light will illuminate when it's time. This work is carried out under the bonnet. First, remove the upper engine cover, then lift the coil and, using a socket wrench of the appropriate size, unscrew the glow plug to remove it from the base, followed by installing the new one. by ScegliAuto More videos
|
|
For advertising on this site Write to info@scegliauto.com
ScegliAuto is not responsible for any inaccuracy of the data in the lists. To report any inaccuracy or your business (if you own the business in question), please write to info@scegliauto.com
Number of seconds to generate the page: 0.115
(c) ScegliAuto 2026 - info@scegliauto.com - Privacy policy VAT number: IT01247470535 |
