
|
Do it yourself
| |||
| ||||


How to replace the rear brake pads of the Nissan Qashqai
Model: Nissan Qashqai
J10
- Years 2006-2014
In the following article, we will see how to replace the rear brake pads of the Nissan Qashqai 1st series. First, you will need to open the hood and the brake fluid reservoir, after which, it is recommended to loosen the bolts securing the rear wheels, then lift the car with a jack, if you have 2 jacks, lift the car from both sides. Once the car is lifted, remove the bolts securing the wheels and remove the wheels. Then, use a flathead screwdriver to unlock the brake caliper by levering on the appropriate pin to close the piston and be able to move the caliper. Using a 14mm wrench, remove the lower screw of the caliper, also remove the upper screw, you will need to lift the caliper slightly to remove it. Then, remove the caliper, once the caliper is removed, you will have access to the brake pads, use the flathead screwdriver to slide the pads outward to remove them, then replace the pads, reinsert the caliper, screw back the previously removed screws, mount the wheels back on and close the brake fluid reservoir. The procedure will be complete.
Posted on 26 July 2024 by ScegliAuto
Video tutorial
Related tutorials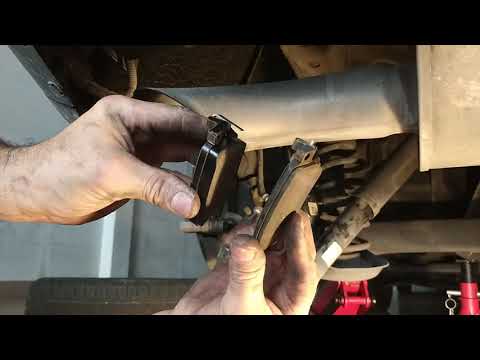
Nissan Qashqai
(2014-2022 /
J11)
Before you can start, lift the rear of your Nissan Qashqai. Begin by removing the rear wheel by unscrewing the fixing bolts. Next, unscrew and remove…

Nissan Qashqai
(2014-2022 /
J11)
In this short and simple guide, we will see the instructions that will allow us to disassemble and replace the rear brake pads (with electric parking…
Nissan Qashqai
(2006-2014 /
J10)
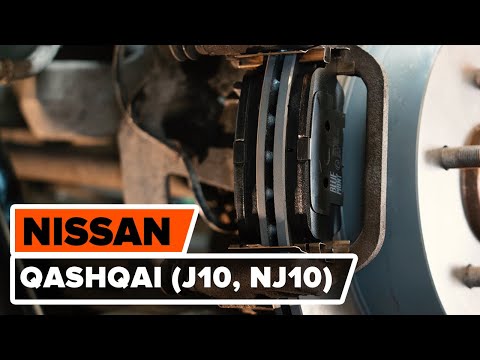
Before starting, lift the rear of your Nissan Qashqai. Begin by removing the rear wheel, loosening the fixing bolts. Next, unscrew and remove the bol…
Other guides you may be interested in
|
How to Replace the External Wing Mirror on a Ford C MAX
In the event of a breakage, it will be necessary to replace the external wing mirror on the 2011 Ford C MAX. This operation is easily performed independently. Start by removing the internal cover of the mirror with a plastic lever. Then, use a socket wrench to remove the securing pins. Once the pins are removed, you can take off the mirror, but not before disconnecting the power connectors. Then proceed to fit the new mirror. First, connect the connectors and then secure the mirror to its housing with the pins. Refit the plastic cover and test the operation of the electric mirror using the controls. by ScegliAuto More videos
|
|
For advertising on this site Write to info@scegliauto.com
ScegliAuto is not responsible for any inaccuracy of the data in the lists. To report any inaccuracy or your business (if you own the business in question), please write to info@scegliauto.com
Number of seconds to generate the page: 0.781
(c) ScegliAuto 2026 - info@scegliauto.com - Privacy policy VAT number: IT01247470535 |
