
|
Do it yourself
| |||
| ||||


How to reset the tire pressure warning light in the Opel Zafira?
Model: Vauxhall Zafira
Zafira C, MK 3
- Years 2011-2019
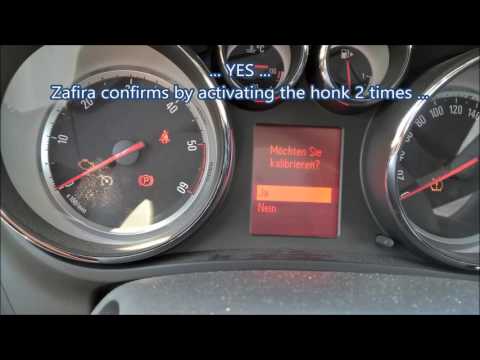
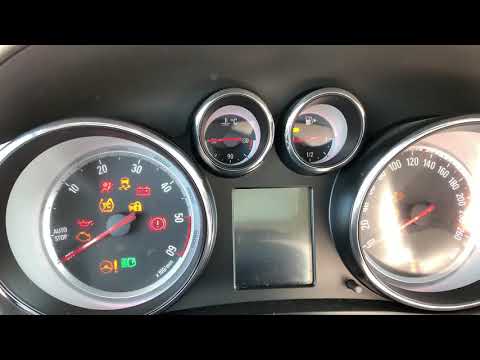
In this tutorial we can see how to reset the tire pressure light in the Opel Zafira, an extremely simple and quick operation, to be carried out only once the correct pressure of each tire has been restored. To do this, we will also need the specific scanner shown in the video, which can also be found online. First of all, let's go inside the cabin, then turn on the instrument panel and, using the buttons on the left control lever, reach the screen related to the pressures. Next, start the calibration by pressing the "SET/CLR" button, place the scanner in front of the left front valve and activate it. Finally, repeat this last step for the remaining tires, going clockwise.
Posted on 14 February 2025 by ScegliAuto
Video tutorial
Related tutorials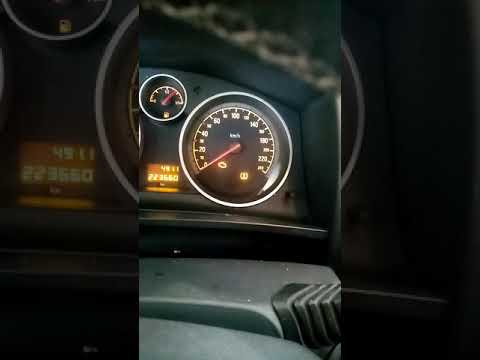
Vauxhall Zafira
(2005-2011 /
A05, Zafira B, MK 2)
In order to reset the Opel Zafira's tire pressure warning light, you must first inflate all the tires to the recommended pressure, the value of which…
Vauxhall Zafira
(2005-2011 /
A05, Zafira B, MK 2)
If we notice that the low tire pressure warning light has turned on in our car, the first thing to do is to check the correct inflation pressure and,…
Vauxhall Zafira
(2011-2019 /
Zafira C, MK 3)
In this video tutorial we will see how to reset the tire pressure warning light of a third series Opel Zafira, following these simple steps; before c…
Other guides you may be interested in
|
Frequently Asked QuestionsHow to Remove the Factory Radio on a Mercedes A-Class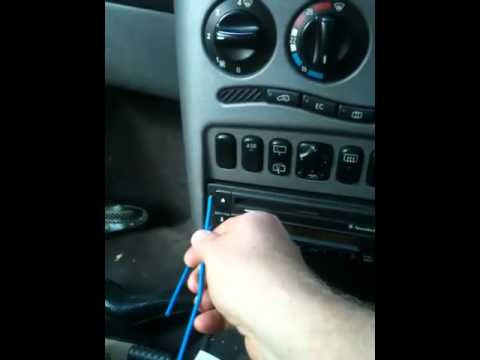
How do you remove the factory radio on a Mercedes A-Class? Let's carefully go through the disassembly process. Use the original or aftermarket metal keys to remove the car stereo: Insert the keys into the holes on the plastic trim of the stereo, pull the stereo towards you as shown in the video, and carefully extract the radio while being mindful of the various wiring (disconnect the power connectors and the antenna cable). Finally, reinstall the original radio or a generic brand with the appropriate adapter for the input and connector. by ScegliAuto More videos
|

|
For advertising on this site Write to info@scegliauto.com
ScegliAuto is not responsible for any inaccuracy of the data in the lists. To report any inaccuracy or your business (if you own the business in question), please write to info@scegliauto.com
Number of seconds to generate the page: 0.081
(c) ScegliAuto 2026 - info@scegliauto.com - Privacy policy VAT number: IT01247470535 |