
|
Do it yourself
| |||
| ||||


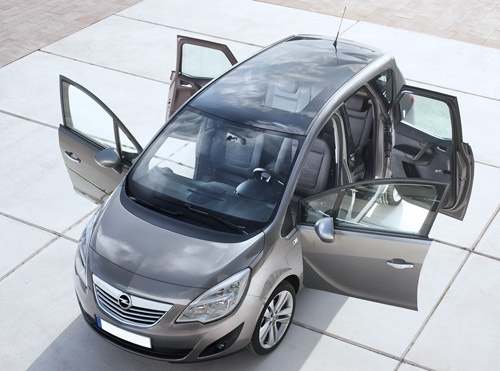
How to reset the service in the Opel Meriva?
Model: Vauxhall Meriva
Meriva B, MK 2
- Years:
2010, 2011, 2012, 2013, 2014, 2015, 2016, 2017
Video tutorial
Resetting the service in the Opel Meriva, as we can see in this tutorial, is an extremely simple and quick operation. Before proceeding, we must have completed all scheduled maintenance work. Let's start by going inside the cabin, then insert the key and turn on the instrument panel. Next, we access the vehicle information menu by pressing the "MENU" button located on the left lever, position ourselves on the remaining oil life with the rotary knob, and press the "SET/CLR" button. At this point, we just need to confirm the reset and complete the procedure by restarting the instrument panel.
Posted on 15 January 2026 by ScegliAuto
Related tutorials
Vauxhall Meriva
(2003-2010 /
Meriva A, MK 1)
When the service light on your Opel Meriva A remains on even after servicing the vehicle, you need to manually reset the light. First, get into the c…
Vauxhall Meriva
(2003-2010 /
Meriva A, MK 1)
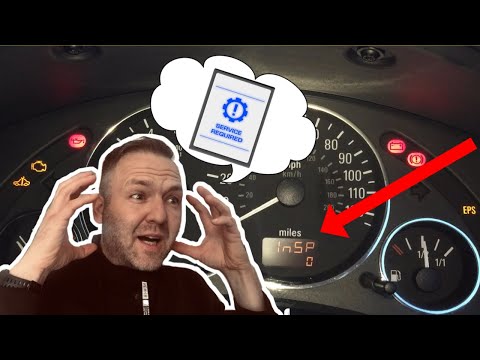
To reset the Service light on the Opel Meriva, press and hold the button located on the dashboard, between the speedometer and the fuel gauge: keep t…

Vauxhall Meriva
(2003-2010 /
Meriva A, MK 1)
Here are the instructions needed to reset the service light for routine oil change maintenance on the Opel Meriva. First, get inside the vehicle and …
Other guides you may be interested in |
How to Replace the Glow Plugs in the Fiat Ducato 2.3 Multijet?
Glow plugs, as the name suggests, raise the temperature of the engine in diesel vehicles to allow for easier starting. The manufacturer, in this case, Fiat for the Ducato 2.3 Multijet, specifies how often they should be replaced, and a warning light will illuminate when it's time. This work is carried out under the bonnet. First, remove the upper engine cover, then lift the coil and, using a socket wrench of the appropriate size, unscrew the glow plug to remove it from the base, followed by installing the new one. by ScegliAuto More videos
|
|
For advertising on this site Write to info@scegliauto.com
ScegliAuto is not responsible for any inaccuracy of the data in the lists. To report any inaccuracy or your business (if you own the business in question), please write to info@scegliauto.com
Number of seconds to generate the page: 0.137
(c) ScegliAuto 2026 - info@scegliauto.com - Privacy policy VAT number: IT01247470535 |
