
|
Do it yourself
| |||
| ||||


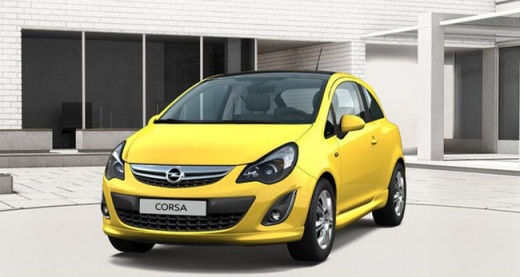
How to Set Date and Time on the Opel Corsa D
Model: Vauxhall Corsa
Corsa D
- Years:
2006, 2007, 2008, 2009, 2010, 2011, 2012, 2013, 2014
Video tutorial
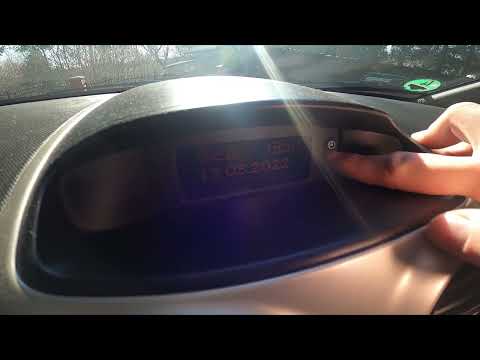
To set the date and time on the Opel Corsa D, the control is located on the central console above the radio panel. There are two buttons: one with a clock symbol. To access the edit menu, press and hold the button with the clock symbol for a few seconds. This opens the date adjustment screen. The cursor will start blinking on the day: use the buttons to modify it. Press once to move to the month: adjust it in the same way. Press again to move to the year: set it using the buttons. Once the date is complete, press the clock button again to move to time adjustment. The cursor blinks on the hours: modify them with the buttons. Press again to move to the minutes and adjust them. Finally, press the clock button once more to confirm. The date and time are now updated. This procedure is useful after replacing the battery when the car resets and the date returns to 01/01/2013.
Posted on 1 October 2026 by ScegliAuto
Related tutorials
Vauxhall Corsa
(2006-2014 /
Corsa D)
Setting the time and date on a 2012 Opel Corsa is very simple. The same procedure used for the Opel Corsa can also be applied to an Opel Astra and Op…
Vauxhall Corsa
(2006-2014 /
Corsa D)
To set the time and date on an Opel Corsa model D, produced from 2006 to 2014, first turn on the vehicle's instrument cluster and then press the two …

Vauxhall Corsa
(2019-2026 /
Corsa F)
Let's see how to set the date and time on the instrument panel of the Opel Corsa "F", which is done entirely through the multimedia screen by disabli…
ScegliAuto offers an extensive international collection of automotive tutorials available in 12 languages. Each guide combines instructional videos with original explanations written by experienced human editors, along with information about the car models covered.
Other guides you may be interested in
|
How to reset the tyre pressure warning light on the Toyota Yaris Hybrid?
To reset the tyre pressure warning light on the Toyota Yaris Hybrid, inflate the tyres until they reach the optimal pressure value: the recommended pressure is indicated on the sticker located on the driver's door pillar. Once inflated, navigate through the menu that appears on the instrument cluster: select the option related to tyre pressure and proceed to select the reset option. After completing the operation, you can turn off the ignition. by ScegliAuto More videos
|
|
For advertising on this site Write to info@scegliauto.com
ScegliAuto is not responsible for any inaccuracy of the data in the lists. To report any inaccuracy or your business (if you own the business in question), please write to info@scegliauto.com
Number of seconds to generate the page: 0.080
(c) ScegliAuto 2026 - info@scegliauto.com - Privacy policy - About us VAT number: IT01247470535 |
