
|
Do it yourself
| |||
| ||||


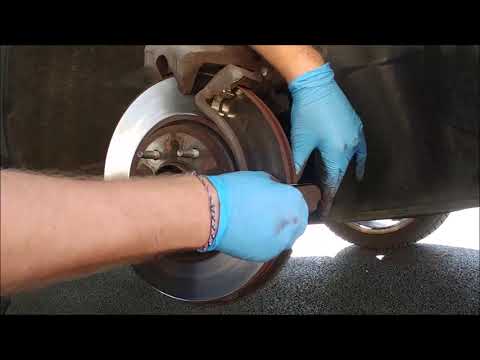
How to change the rear brake pads on the Opel Insigna
Model: Vauxhall Insigna
MK 1, Insigna A
- Years 2008-2017
How do you change the rear brake pads of the Insigna? We lift the car with a jack and remove the rear wheel. We unscrew the locking pin of the brake caliper, remove the same from the wheel support. Using a screwdriver, we remove the pads from the wheel hub caliper, we go to mount the new pads inside the brake caliper. We mount the brake caliper with the support on the brake disc: we tighten all the pins and mount the wheel at the end of the maintenance. We replace all the rear brake pads and, if worn, also the front brakes. We assemble pieces of the same size and type.
Posted on 17 June 2021 by ScegliAuto
Video tutorial
Related tutorials
Vauxhall Insigna
(2008-2017 /
MK 1, Insigna A)
In order to replace the rear hatch lock of the Opel Insignia, you need to open the hatch and in this way it will be possible to loosen the screws tha…
Vauxhall Insigna
(2008-2017 /
MK 1, Insigna A)
Before starting, we will have to apply the parking brake and engage the first gear of our Opel Insignia, and then raise the front of our car. So let'…

Vauxhall Insigna
(2017-2026 /
Insigna B, MK 2)
To locate the OBD port inside your Opel Insignia second edition (year 2019), you do not need to disassemble any components. All you have to do is car…
Other guides you may be interested in
|
Removing the Timing Belt on a Suzuki Vitara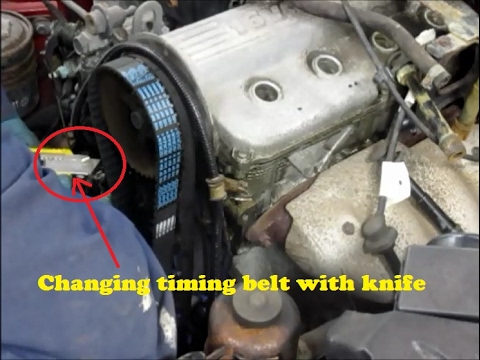
In this video, see the removal and replacement of the timing belt and water pump on a Suzuki Vitara. Open the bonnet and lift it, securing it in place. Use a socket wrench to remove the cooling radiator along with the associated hoses. Disconnect the power wiring using pliers, and remove the plastic undertray with a screwdriver. Use a spanner to loosen the tensioner pulley and slide the belt off its seat. Use a socket wrench to unscrew the tensioner pulley bolt, and remove the water pump as shown in the video. Fit the new water pump, the tensioner, and the belt itself, tightening everything with the socket wrench. Finally, reinstall the radiator with the securing bolts. by ScegliAuto More videos
|

|
For advertising on this site Write to info@scegliauto.com
ScegliAuto is not responsible for any inaccuracy of the data in the lists. To report any inaccuracy or your business (if you own the business in question), please write to info@scegliauto.com
Number of seconds to generate the page: 0.077
(c) ScegliAuto 2026 - info@scegliauto.com - Privacy policy VAT number: IT01247470535 |