
|
Do it yourself
| |||
| ||||


Diagnosis and Replacement of Starter Motor Brushes
Model: Vauxhall Astra
Astra G
- Years 1998-2006
As you can see from the following images, the starter motor in question is likely short-circuited as connecting the cable causes sparks. The first step is to remove the cover by unscrewing the two bolts at the back. Remove the copper leads from the positive and negative terminals. Lift each spring one by one to extract the brushes, being careful with the insulating plate between the spring and the brush itself. As you can see, the brushes are significantly worn. Reinsert the new brushes and the insulating plate. Reattach the copper leads to the negative terminal and the other to the positive with the protective cap. Reattach the cover and test the proper functioning of the starter motor. Car model: Opel Astra.
Updated on 11 February 2026 by ScegliAuto
Video tutorial
Related tutorials
Vauxhall Astra
(2009-2016 /
Astra J)
In this short and simple guide, you will learn how to remove and replace the starter motor of the Opel Astra. First, raise the vehicle to access the …
Vauxhall Astra
(1998-2006 /
Astra G)
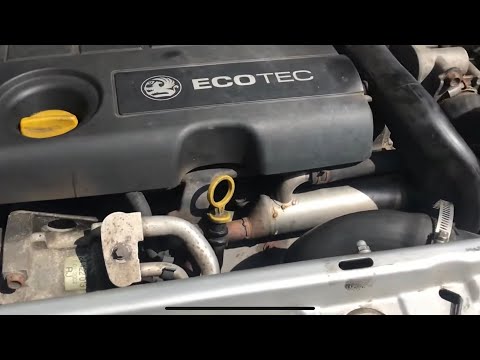
Replacing the starter motor on an Astra? Here’s how to remove it from the engine bay. Lift the bonnet and disconnect the starter motor power terminal…

Vauxhall Astra
(2004-2010 /
Astra H)
Today we will discover the main instructions that will allow us to disassemble and replace the starter motor of the Opel Astra 1.6. First, we open th…
Other guides you may be interested in
|
Frequently Asked QuestionsHow to Connect the Cables to the Battery of the Citroen Xsara Picasso?
In this tutorial, you will see how to connect the cables to the battery of the Citroen Xsara Picasso, useful if you need to recharge it or perform an emergency start. First, ensure the key is not inserted, then open the bonnet and move to the front of the left headlamp. Next, locate the bolt just behind the filter box and connect the positive terminal clamp to it. Now you can connect the negative terminal to any point on the chassis, such as the indicated point. Once the operation is complete, ensure you disconnect the negative first and then the positive. by ScegliAuto More videos
|
|
For advertising on this site Write to info@scegliauto.com
ScegliAuto is not responsible for any inaccuracy of the data in the lists. To report any inaccuracy or your business (if you own the business in question), please write to info@scegliauto.com
Number of seconds to generate the page: 0.069
(c) ScegliAuto 2026 - info@scegliauto.com - Privacy policy VAT number: IT01247470535 |
