
|
Do it yourself
| |||
| ||||


Vauxhall Meriva - Video tutorial
Model: Vauxhall Meriva
MK 1, Meriva A
- Years 2003-2010 Replacing the clutch kit on a car is a rather complex operation, we will summarize the main phases below and then help us in detail with the video. The first thing to do is to disconnect the battery and lift the car, remove the front wheels, remove the steering knuckles and arms, unhook and remove the front axle shaft, start removing the gearbox support pins with the help of another person to support it and its weight. Once the gearbox has been disassembled and positioned on the ground, we will have access to the clutch kit and we can disassemble the disc and pressure plate from the flywheel and then proceed to reassemble the new kit.
Posted on 21 December 2022 by ScegliAuto
 How do you replace the clutch of the Opel Meriva?
Vauxhall Meriva (2003-2010 / MK 1, Meriva A) In order to replace the clutch of the Opel Meriva, you need to lift the car using a jack or a lift: this way, it will be possible to loosen the screw 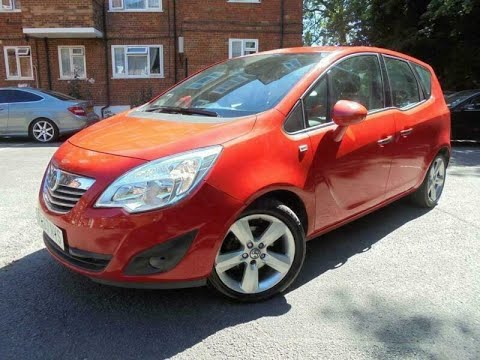 Clutch disassembly instructions Opel Meriva 1.4 16V Petrol
Vauxhall Meriva (2010-2017 / Meriva B, MK 2) In this video tutorial we will see the main instructions on how to remove the clutch on an Opel Meriva Second series. First we lift the car and go to 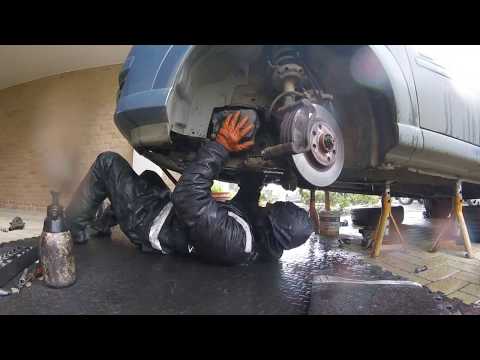 Clutch disassembly instructions Opel Meriva 1.4 Turbo Petrol
Vauxhall Meriva (2003-2010 / MK 1, Meriva A) We see in this video the main instructions on how to remove the clutch on an Opel Meriva 1.4 Turbo Petrol. First we lift the car and remove the front Other guides that may interest you
|
Frequently Asked QuestionsHow do you replace the horn on the Citroà «n Berlingo?
In order to replace the horn on the Citroà «n Berlingo, the vehicle must be raised so that the screws that secure the left front wheel can be loosened and removed completely. Once this wheel has been removed, it will be possible to access the screws that secure the internal cover of the corresponding wheel arch: this will have to be detached and it will be possible to access the components inside, including the horn. This will need to be disconnected from its connector and removed from its holders, so that it can be replaced with a new spare part. by ScegliAuto More videos
|
|
For advertising on this site Write to info@scegliauto.com
ScegliAuto is not responsible for any inaccuracy of the data in the lists. To report any inaccuracy or your business (if you own the business in question), please write to info@scegliauto.com
Number of seconds to generate the page: 0.058
(c) ScegliAuto 2024 - info@scegliauto.com - Privacy Policy VAT number: IT01247470535 |