
|
Do it yourself
| |||
| ||||


How to Rebuild Opel or Peugeot Remote Keys
Model: Vauxhall Opel Various
Let's see how to rebuild the keys of an Opel or Peugeot remote: First, clean the area where the key you intend to rebuild was located; there should be no residue, and the area must be completely clear. You will need black silicone and a piece of paper; cut a small piece and fit it inside the printed circuit board. Then take the black silicone and fill the hole where you placed the piece of paper. Slightly wet a finger with water and spread it well to give it shape. Leave it to dry for about two hours. Now, try on another one with hot glue. Again, a piece of paper is needed; insert it well into the clean hole. Apply the hot glue using the same procedure. Allow it to dry, and shape it again with the damp finger, pressing lightly.
Updated on 16 July 2026 by ScegliAuto
Video tutorial
Related tutorials
Vauxhall Opel Various
In this video, we can see how to replace the key cover of an Opel/Vauxhall: we can easily get the new cover on any e-commerce website, we just need t…

Vauxhall Opel Various
Today we will explain how to replace the battery of the key on Opel vehicles. To replace the key, we need to first remove the top part of the remote …
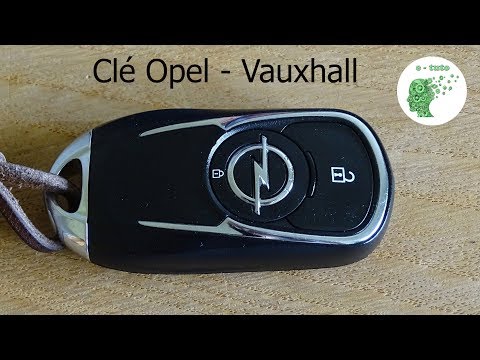
Vauxhall Opel Various
In this tutorial, you will see how to open the remote control of an Opel, a very simple and quick operation, for example, if you need to replace the …
Other guides you may be interested in
|
How to Connect the Cables to the Battery of the Citroen Xsara Picasso?
In this tutorial, you will see how to connect the cables to the battery of the Citroen Xsara Picasso, useful if you need to recharge it or perform an emergency start. First, ensure the key is not inserted, then open the bonnet and move to the front of the left headlamp. Next, locate the bolt just behind the filter box and connect the positive terminal clamp to it. Now you can connect the negative terminal to any point on the chassis, such as the indicated point. Once the operation is complete, ensure you disconnect the negative first and then the positive. by ScegliAuto More videos
|
|
For advertising on this site Write to info@scegliauto.com
ScegliAuto is not responsible for any inaccuracy of the data in the lists. To report any inaccuracy or your business (if you own the business in question), please write to info@scegliauto.com
Number of seconds to generate the page: 0.120
(c) ScegliAuto 2026 - info@scegliauto.com - Privacy policy VAT number: IT01247470535 |
