
|
Do it yourself
| |||
| ||||


How to reset the service of the Opel Vectra.
Model: Vauxhall Vectra
MK 3, Vectra C
- Years 2002-2008
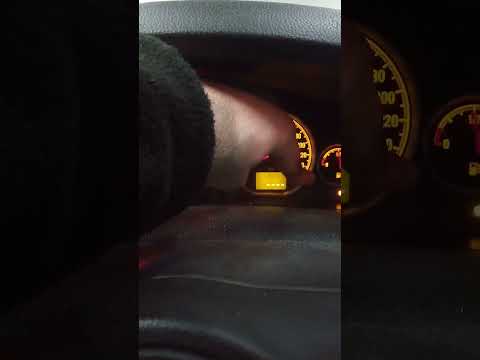
The procedure for resetting the maintenance service light for the regular oil change on the Opel Vectra is really simple; let's see how to do it. First, we get into the car and start by pressing and holding the button located on the right side of the instrument panel; then we turn on the panel and continue to hold down the brake pedal until the service light flashes and resets completely, as shown in the video. At this point, we turn off the panel and then turn on the engine, making sure that the service light has been reset!
Posted on 5 December 2023 by ScegliAuto
Video tutorial
Related tutorials
Vauxhall Vectra
(2002-2008 /
MK 3, Vectra C)
To reset the Service light on the Opel Vectra, you need to insert the ignition key into the slot and turn it to turn on the instrument panel. Once th…

Vauxhall Vectra
(1995-2002 /
MK 2, Vectra B)
In this tutorial we can see how to reset the air conditioning system in the Opel Vectra, an operation to be carried out for example as an attempt to …
Vauxhall Vectra
(2002-2008 /
MK 3, Vectra C)
In this new mini guide dedicated to your Opel Vectra C (year 2002-2008), we will discover the steps to manually reset the service light that remains …
Other guides you may be interested in
|
How to Remove the Driver's Side Airbag (Steering Wheel) on a BMW 3 Series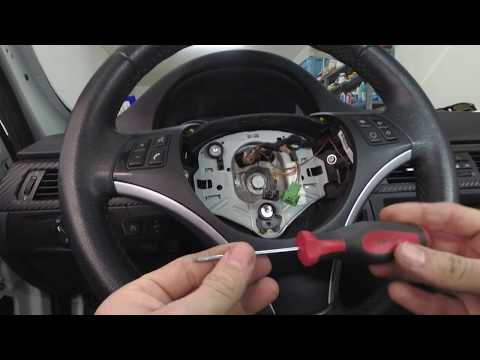
How to remove the driver's side airbag (steering wheel) on a BMW 3 Series? This operation is very simple if you follow the steps. Let's see in this guide how to proceed: insert a medium-length screwdriver into the rear slots on the steering wheel and turn until you release the clips that hold the airbag. Once the airbag is disconnected, disconnect the power connectors and remove it from the steering wheel. For reinstalling the airbag: connect the power connector, then press it onto the steering wheel until the locking clips snap into place inside the steering wheel. by ScegliAuto More videos
|
For advertising on this site Write to info@scegliauto.com
ScegliAuto is not responsible for any inaccuracy of the data in the lists. To report any inaccuracy or your business (if you own the business in question), please write to info@scegliauto.com
Number of seconds to generate the page: 0.052
(c) ScegliAuto 2026 - info@scegliauto.com - Privacy policy VAT number: IT01247470535 |