
|
Do it yourself
| |||
| ||||


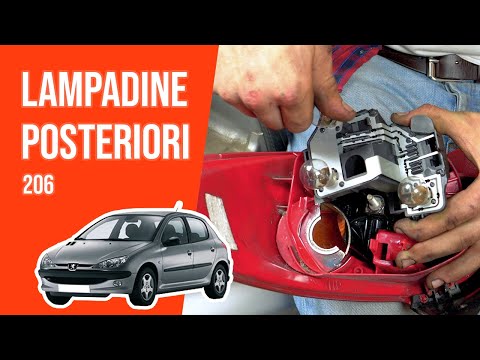
Peugeot 206 - Video tutorial
Model: Peugeot 206
MK 1
- Years 1998-2012 Before starting, we will have to open the tailgate of our Peugeot 206. So let's start by disengaging and removing the hooks that fix the side carpet of the luggage compartment, and we will have reached the rear plastic screw that fixes the light, which we will have to unscrew and remove. After that, we will have to extract the light from its seat, and then disconnect the rear electrical connector, and we will have reached the bulb holder. At this point, we will have to disengage the bulb holder, and subsequently we will have to disengage and remove the burned out bulb, and the disassembly will be completed. To fit the new bulb and reassemble the headlight, all we have to do is repeat these steps in reverse, and the replacement will be completed.
Posted on 16 January 2024 by ScegliAuto
 How to replace the rear light bulb on a Peugeot 206
Peugeot 206 (1998-2012 / MK 1) Before starting, we will have to open the rear hatch of the luggage compartment of our Peugeot 206. So let's start by disengaging and removing the cl 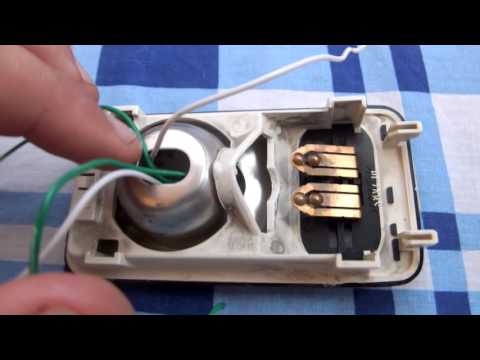 How to replace the interior ceiling light bulb on the Peugeot 206?
Peugeot 206 (1998-2012 / MK 1) In order to replace the Peugeot 206 internal ceiling light bulb, a screwdriver must be used to pry and extract the light from its housing. Subsequent 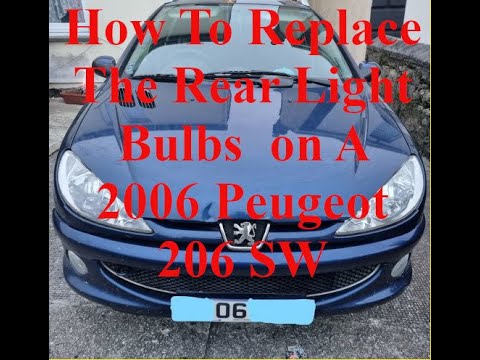 How to replace the rear light bulb of the Peugeot 206 SW?
Peugeot 206 (1998-2012 / MK 1) In this new guide dedicated to all of you who own a Peugeot 206 Station Wagon, we will discover how to replace the rear headlight bulb completely ind Other guides that may interest you
|
How do you open the fuel flap of the Volkswagen Golf 5?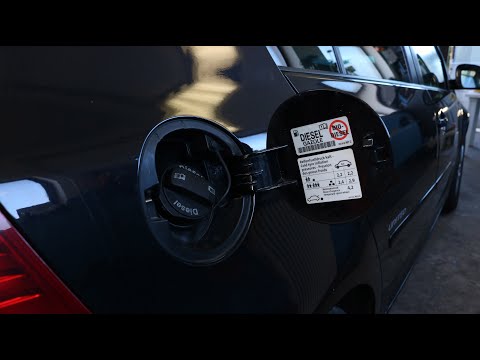
In order to open the fuel flap of the Volkswagen Golf 5, you need to press the appropriate button inside the passenger compartment, which is located in the rear part of the glove box on the driver's door. By pressing the button, the flap will unlock and it will then be possible to open it manually. Once the flap has been opened, the fuel tank access cap must be unscrewed. To close everything again, it will be sufficient to screw the tank cap again; subsequently, the flap must also be closed, pressing it so that it fits thanks to its locking mechanism. by ScegliAuto More videos
|
|
For advertising on this site Write to info@scegliauto.com
ScegliAuto is not responsible for any inaccuracy of the data in the lists. To report any inaccuracy or your business (if you own the business in question), please write to info@scegliauto.com
Number of seconds to generate the page: 0.082
(c) ScegliAuto 2024 - info@scegliauto.com - Privacy Policy VAT number: IT01247470535 |