
|
Do it yourself
| |||
| ||||


|
Model: Piaggio Vespa Gts 250
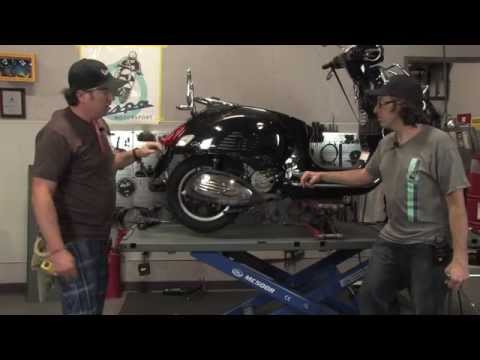
In this guide, we will see how to remove the rear wheel from the Vespa GTS 250 with electronic injection. This procedure is also applicable to other Vespa GTS models with different engine sizes. For other Vespa models that are NOT GTS and with different engine sizes, it is strongly recommended to consult other guides. The tools to be used are detailed in the demonstration video. Here are the steps to follow: 1. Remove the mudguards and their side supports; 2. Remove the lower side panel located below the logo; 3. Remove the central plastic support; 4. Remove the bolts and washers located near the exhaust; 5. Cut the ties accessing from the seat compartment; 6. Remove the exhaust; 7. Remove the wheel sprocket, wheel axle, screws, bolts, and wheel inserts; 8. Extract the rear wheel. To reassemble everything, proceed in reverse order.
Updated on 31 May 2026 by ScegliAuto
Video tutorial
Related tutorials
Vespa Gts 250
To remove the rear wheel of the Vespa GTS 250, use a 5 mm socket to undo the bolt of the exhaust clamp, then use a 6 mm socket to undo the bolt at th…

Vespa Gts 250
In this video tutorial, you will see how to remove the glove box on a Vespa GTS 250 IE. First, remove the front logo by prying it off with a plastic …
Vespa Gts 250
In this guide, you will learn how to remove the engine block from the body of the Piaggio Vespa GTS 250 and GTS 300. First, place your scooter on the…
|
How to Check the Coolant Level in a Yamaha Xmax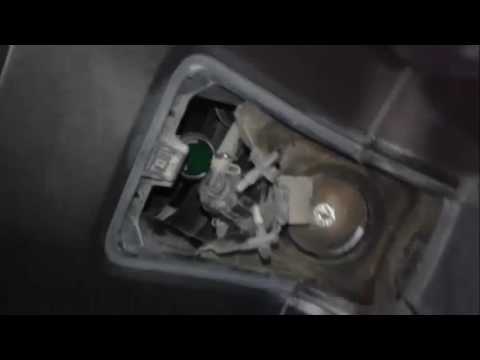
In the following video, you will learn how to check the coolant level in a 2008 Yamaha Xmax. First, position the motorcycle on a stable surface by raising the stand. Next, lift the cover located at the top of the motorcycle to access the coolant drain bolt. To top up the coolant, unscrew the cap as shown in the video and add the fluid until it reaches the maximum level, indicated as Max. Once finished, close the valve and refit the cover. At this point, start the engine and let it run at idle for a few minutes to eliminate any air bubbles that may have formed inside. by ScegliAuto More videos
|
|
For advertising on this site Write to info@scegliauto.com
ScegliAuto is not responsible for any inaccuracy of the data in the lists. To report any inaccuracy or your business (if you own the business in question), please write to info@scegliauto.com
Number of seconds to generate the page: 0.008
(c) ScegliAuto 2026 - info@scegliauto.com - Privacy policy VAT number: IT01247470535 |
