
|
Do it yourself
| |||
| ||||


How to replace rear light bulbs in RAM Promaster van?
Model: RAM Promaster
MK 1
- Years 2014-2022
In this tutorial we can see how to replace the rear light bulbs in the RAM Promaster van, an extremely simple and fast operation. Let's start by opening the tailgate, after which we unscrew the seven screws of the panel located on the back of the lighthouse in question. Once removed, unscrew the two large fixing bolts of the headlight, grab it and extract it from the bodywork. At this point, we can disconnect the power connector and proceed with replacing the faulty bulb, which can be removed by simply turning it about 45 degrees anticlockwise.
Posted on 27 March 2023 by ScegliAuto
Video tutorial
Related tutorials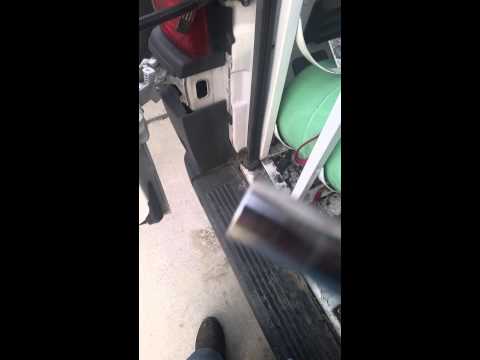
RAM Promaster
(2014-2022 /
MK 1)
As we can see in this tutorial, disassembling the rear light in the RAM Promaster van, so that you can replace the bulbs or the headlight itself, is …

RAM Promaster
(2014-2022 /
MK 1)
It will be possible to adjust the headlights of the RAM Promaster by opening the hood, so that it will be possible to access the components located i…

RAM Promaster
(2014-2022 /
MK 1)
It will be possible to replace the fog light bulb of the RAM Promaster by accessing the underside of the bumper, allowing you to locate the correspon…
Other guides you may be interested in
|
Tips on How to Change the Glow Plugs on 1.3 MJT Engines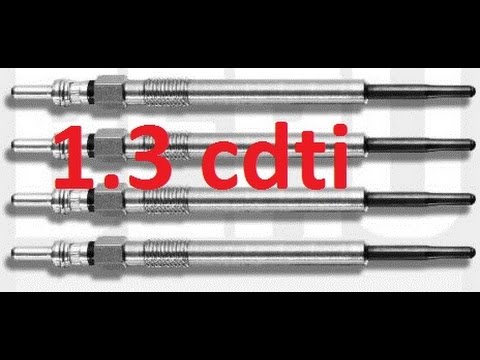
The 1.3 CDTI engine is used in many models from Fiat, Lancia, Opel, and Suzuki, making glow plug wear a common issue. The glow plugs are located at the front of the engine, just in front of the rocker cover. Simply remove the engine cover to locate them. A quick functionality check can be done by disconnecting the connector and gently touching the glow plug with an electric wire connected to the positive terminal of the battery: if a spark occurs, the glow plug is fine. A problem that may arise during replacement is that the glow plug may not unscrew. It is advisable to spray some penetrating oil and let it sit overnight before unscrewing it with an 8 mm socket. Before installing the new one, apply some special grease and do not exceed the torque specification. by ScegliAuto More videos
|

|
For advertising on this site Write to info@scegliauto.com
ScegliAuto is not responsible for any inaccuracy of the data in the lists. To report any inaccuracy or your business (if you own the business in question), please write to info@scegliauto.com
Number of seconds to generate the page: 0.098
(c) ScegliAuto 2026 - info@scegliauto.com - Privacy policy VAT number: IT01247470535 |