
|
Do it yourself
| |||
| ||||



How to replace the Renault Scenic's control arm
Model: Renault Scenic
MK III, Scenic III, Scenic 3, MK 3
- Years:
2009, 2010, 2011, 2012, 2013, 2014, 2015
Video tutorial
Today we will explain how to replace the control arm on a Renault Scenic model 3 vehicle. To perform the replacement of the arm, we need to remove the bolts on the wheels so that we can remove it and have full access to the suspension system. Lift the car and place the front part on jack stands. Using a wire brush, brush the fixing nut of the control arm ball joint and spray some penetrating oil. Clean the disc with brake cleaner. After cleaning the parts, use an 18mm wrench to unscrew the fixing nut of the support joint. Using a ball joint separator, separate the control arm from the support joint. Use a pry bar to detach the hub carrier from the control arm ball joint. Brush the fixing bolt of the control arm rear bushing and apply penetrating oil. With a 21mm wrench or a socket wrench with a 30 insert, screw in the rear fixing screw of the control arm, then remove it. Use the 21mm wrench to unscrew the bushing nut. Now remove and insert the new control arm. Mount the rear and front bushing screw without tightening it. Mount the hub carrier on the control arm ball joint and lift the arm to the ball joint level using a jack, then tighten the bushing screws. Use a torque wrench to tighten the bolt and mount the wheels, then lower the vehicle back to the ground.
Posted on 1 May 2025 by ScegliAuto
Related tutorials
Renault Scenic
(2003-2009 /
Scenic 2, MK 2)
To replace the wishbone of the Renault Scenic, lift the vehicle so that the corresponding wheel is not in contact with the ground. At this point, loo…

Renault Scenic
(2003-2009 /
Scenic 2, MK 2)
Replacing the lower wishbone of the front suspension requires lifting the vehicle on a ramp and first removing the front wheel and the wheel arch lin…

Renault Scenic
(2003-2009 /
Scenic 2, MK 2)
To replace the front suspension wishbone, lift the vehicle on a ramp and start by removing the front wheel and the wheel arch liner; then remove the …
Other guides you may be interested in
|
How to Activate the Disabled TRC on the Toyota Yaris?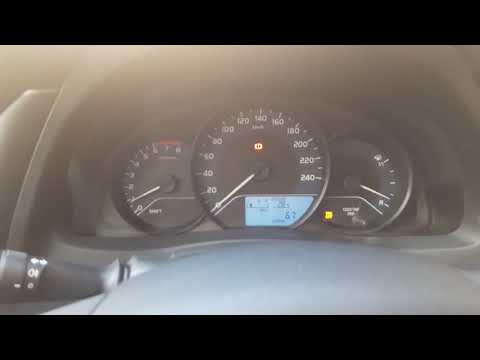
As the video clearly shows, disabling or activating the traction control (TRC or ESP) on the Toyota Yaris is very simple. By default, the traction system activates every time the vehicle is started. To disable it, simply press the button depicting a skidding car located in the centre of the vehicle where the controls are, such as the hazard lights and the radio, but near the handbrake. Once disabled, the TRC off light will illuminate on the dashboard. To reactivate it, just press the same button again. by ScegliAuto More videos
|
|
For advertising on this site Write to info@scegliauto.com
ScegliAuto is not responsible for any inaccuracy of the data in the lists. To report any inaccuracy or your business (if you own the business in question), please write to info@scegliauto.com
Number of seconds to generate the page: 0.024
(c) ScegliAuto 2026 - info@scegliauto.com - Privacy policy VAT number: IT01247470535 |
