
|
Do it yourself
| |||
| ||||


How to Remove Rear Shock Absorber on Renault Scenic
Model: Renault Scenic
Scenic 2, MK 2
- Years 2003-2009
Want to remove the rear shock absorber from a Renault Scenic? Here's how: Loosen the wheel nuts using a suitable tool (socket wrench or air drill), lift the car on a column lift and remove the wheel. Using a socket wrench, unscrew the mounting bolts of the shock absorber (at the top and bottom), lower the car with the column lift and unscrew the bolt located on the side in the boot (if this option is available), then remove the shock absorber from its housing. Compare the old part with the new one and prepare for installation: insert the shock absorber into its housing and first tighten all the bolts at the top of the shock absorber, then secure the bottom to the wheel hub.
Updated on 5 March 2026 by ScegliAuto
Video tutorial
Related tutorials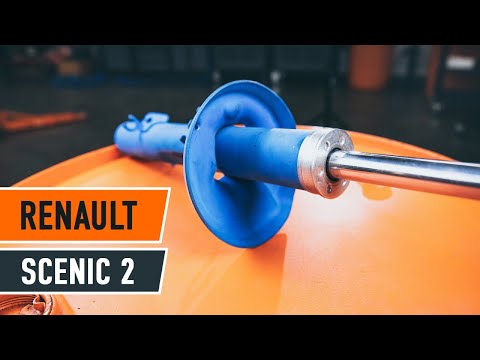
Renault Scenic
(2003-2009 /
Scenic 2, MK 2)
How to remove the front shock absorber of a Renault Scenic? The first step to follow: we lift the car on a column bridge and take off the front wheel…

Renault Scenic
(2009-2015 /
MK III, Scenic III, Scenic 3, MK 3)
On the Renault Scénic 3, the work starts from the rear wheel: in the video, you can see the loosening of the bolts with a wrench, then the car is lif…
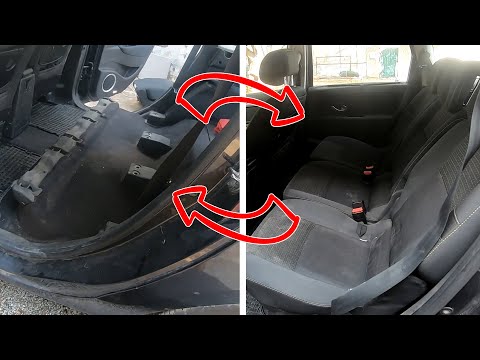
Renault Scenic
(2009-2015 /
MK III, Scenic III, Scenic 3, MK 3)
The steps outlined in this guide will show us how to disassemble and potentially repair or replace the rear seats of the Renault Scenic. First, we op…
Other guides you may be interested in
|
How to Change the Cabin Filter on a Fiat Punto Evo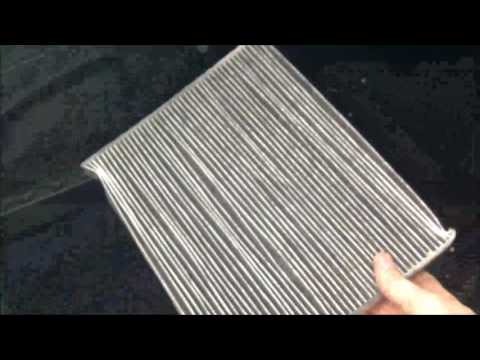
How to change the air conditioning pollen filter on a Fiat Punto Evo? Remove the plastic cover of the centre tunnel (right side of the tunnel), then remove the plastic cover from the filter cap (located inside the centre tunnel), and extract the worn cabin filter. Insert a new cabin filter, ensuring it fits snugly around the walls of the housing: refit the filter cap and secure the container (close the glove compartment located in the centre tunnel). Check the correct installation of the previously fitted parts. by ScegliAuto More videos
|
|
For advertising on this site Write to info@scegliauto.com
ScegliAuto is not responsible for any inaccuracy of the data in the lists. To report any inaccuracy or your business (if you own the business in question), please write to info@scegliauto.com
Number of seconds to generate the page: 0.090
(c) ScegliAuto 2026 - info@scegliauto.com - Privacy policy VAT number: IT01247470535 |