
|
Do it yourself
| |||
| ||||


How to repair the window regulator of a Renault Clio MK1 3-door.
Model: Renault Clio
Clio 1, MK 1
- Years 1990-1998
In this video, we will see how to repair the window regulator of a Renault Clio MK1 3P. We can find spare parts for this repair, for example on E-Bay with code 176386022780 at a price of 108.65 euros, with free shipping. We will slide the clip for the glass transport on a rail, to which we will connect the wires that we will then pass through the white plastic corner clips that hold the sleeves in place. The spool holder will support the motor and the ends of the wire, then we fix the spools on the metal ends; the spool has a flat side that will remain inside the casing: it is very important that the wires do not cross each other. We can then position the electric motor. The clip on the rail must have a sponge to limit friction with the glass; then the white clip will hold everything in place.
Posted on 13 January 2026 by ScegliAuto
Video tutorial
Related tutorials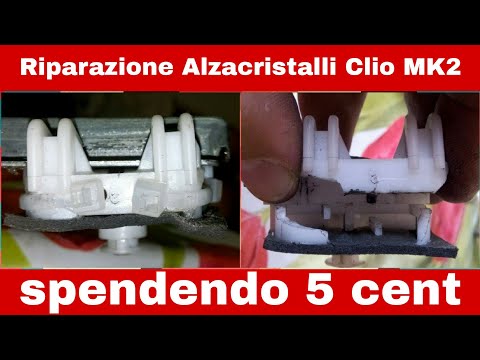
Renault Clio
(1998-2005 /
Clio 2, MK 2)
This guide shows how to fix the window regulator of the Renault Clio Series 2. The first step is to remove the inner door panel. To do this, remove a…

Renault Clio
(2005-2013 /
MK 3, Clio 3, Clio III)
In this guide, we will cover the main instructions to dismantle and replace the window regulator motor on a Renault Clio. First, open the front door …

Renault Clio
(1998-2005 /
Clio 2, MK 2)
.. window lifter directly to the metal frame of the door. In this way we will have removed the component and we can repair or replace it... …
Other guides you may be interested in |
Frequently Asked QuestionsHow to Check the Oil Level on a Jeep Renegade?
To check the oil level on a Jeep Renegade, you need to open the bonnet to access the components inside the engine bay: on the lower left side of the engine block, you will find the dipstick for checking the level. This should be pulled out and thoroughly cleaned with a cloth: once cleaned, reinsert it back into its tube and pull it out immediately after. This way, you can check that the oil mark is between the minimum and maximum levels; finally, you can place the dipstick back in its tube. by ScegliAuto More videos
|
|
For advertising on this site Write to info@scegliauto.com
ScegliAuto is not responsible for any inaccuracy of the data in the lists. To report any inaccuracy or your business (if you own the business in question), please write to info@scegliauto.com
Number of seconds to generate the page: 0.964
(c) ScegliAuto 2026 - info@scegliauto.com - Privacy policy VAT number: IT01247470535 |
