
|
Do it yourself
| |||
| ||||


How to Change the Cabin Air Filter on Renault Kangoo
Model: Renault Kangoo
MK 2, FC, FW
- Years 2007-2021
As usual, before starting any maintenance operation on a car, it is necessary to position the vehicle on a level surface or on a ramp to work safely and stably. This is a precaution for the safety and well-being of the operator. Now, locate the filter housing (which, in this case, is located beneath the centre console), remove the upper part of the centre console itself, and disconnect the electrical supply of the various switches. This part should be removed by unscrewing the screws that hold it and disengaging it along its perimeter. Now unscrew the 2 screws on the sides of the glove compartment (as indicated in the images), after removing the side panels. Remove the glove compartment and, from the left side of the compartment, remove the ventilation grille. This gives access to the cover of the filter slots, which, once removed, allows you to proceed with the replacement (one after the other). This operation should be repeated every year or at least every 15,000 miles.
Updated on 10 April 2026 by ScegliAuto
Video tutorial
Related tutorials
Renault Kangoo
(2007-2021 /
MK 2, FC, FW)
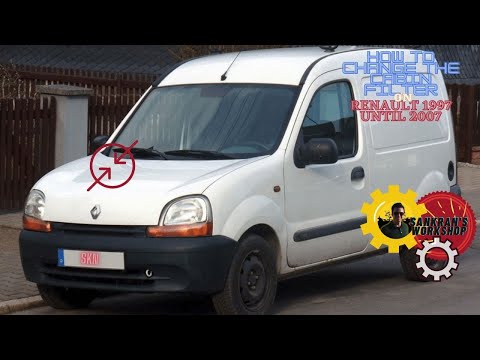
Learn how to change the cabin air filter on a Renault Kangoo. Access to the cabin filter is not from the cabin, but from the grille under the windscr…
Renault Kangoo
(1997-2008 /
MK 1, KC, KW)
To replace the cabin filter on a Renault Kangoo, open the bonnet to access the panel at the base of the windscreen. Before removing this panel, disco…

Renault Kangoo
(2020-2026 /
KFK, MK 3, FFK)
The cabin filter of the Renault Kangoo III is located behind the glove compartment (passenger side dashboard). No tools are required. Empty the drawe…
Other guides you may be interested in
|
How to Connect the Cables to the Battery of the Citroen Xsara Picasso?
In this tutorial, you will see how to connect the cables to the battery of the Citroen Xsara Picasso, useful if you need to recharge it or perform an emergency start. First, ensure the key is not inserted, then open the bonnet and move to the front of the left headlamp. Next, locate the bolt just behind the filter box and connect the positive terminal clamp to it. Now you can connect the negative terminal to any point on the chassis, such as the indicated point. Once the operation is complete, ensure you disconnect the negative first and then the positive. by ScegliAuto More videos
|
|
For advertising on this site Write to info@scegliauto.com
ScegliAuto is not responsible for any inaccuracy of the data in the lists. To report any inaccuracy or your business (if you own the business in question), please write to info@scegliauto.com
Number of seconds to generate the page: 0.109
(c) ScegliAuto 2026 - info@scegliauto.com - Privacy policy VAT number: IT01247470535 |
