
|
Do it yourself
| |||
| ||||


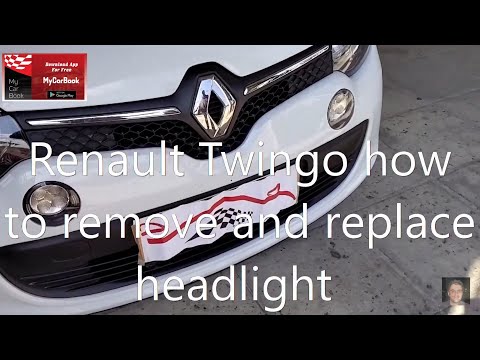
How to replace the headlights in the Renault Twingo 1st series
Model: Renault Twingo
Twingo 1
- Years 1993-2007
We often have non-working lamps in the headlights of our car, and of course it happens at the weekend and we would like to know how to remedy the problem. Well, in this video we will see how to replace the position, low beam, high beam and direction indicator lamps in the Renault Twingo 1st series. We open the engine compartment and unhook the cap of the light, extract the smaller connector positioned at the bottom, to replace the position light that mounts a W5W, and after replacing the bulb reinsert it in the hole making sure it is well fixed. We proceed by replacing the PY21W of the direction indicator, turning counterclockwise we release the connector at the bottom white, extract the lamp by pressing and turning a few degrees to the left. Once the direction indicator has been reassembled, we proceed by unhooking the 3-way connector in the center of the headlight, press and slightly move the fixing clip of the H4 which includes the low beam and the high beam, remove the lamp and insert the new one. Remember to clean the lamps after handling them to avoid devitrification and extend the life of our lamp.
Posted on 24 June 2021 by ScegliAuto
Video tutorial
Related tutorials
Renault Twingo
(2007-2014 /
Twingo 2)
We will explain how to adjust the headlight position of the Renault Twingo model mk2. To perform this simple operation, we need to turn on the car's …
Renault Twingo
(2014-2024 /
Twingo 3, Twingo III)
In this tutorial, we can see how to disassemble the front headlights in the Renault Twingo. First of all, make sure that the key is not inserted, the…

Renault Twingo
(2014-2024 /
Twingo 3, Twingo III)
In this tutorial we can see how to replace the front headlight bulbs in the Renault Twingo, an extremely simple and quick operation. First of all, ma…
Other guides you may be interested in
|
How to Reset the Tyre Pressure Indicator on a Jeep Wrangler
This procedure does not require any special tools or skills. After starting your vehicle and noticing the indicator on the dashboard display, simply open the driver's side door to get the correct pressure settings for both front and rear tyres. Inflate your tyres to the indicated pressures, then restart the vehicle's onboard computer. If the indicator continues to flash, contact a specialist to check the relevant sensor. by ScegliAuto More videos
|
|
For advertising on this site Write to info@scegliauto.com
ScegliAuto is not responsible for any inaccuracy of the data in the lists. To report any inaccuracy or your business (if you own the business in question), please write to info@scegliauto.com
Number of seconds to generate the page: 0.094
(c) ScegliAuto 2026 - info@scegliauto.com - Privacy policy VAT number: IT01247470535 |