
|
Do it yourself
| |||
| ||||


How to Enter the Radio Code in a Renault Clio
Model: Renault Clio
Clio 2, MK 2
- Years 1998-2005
To ensure the radio functions correctly, you must enter the appropriate code. Each radio has a different code that varies for each user, and this is the code you need to input to make the radio work. When you start the car, four zeros will appear on the main screen, and the first digit will flash. To enter the code, use the knob located to the right of the steering wheel, near where the key is inserted. By turning this knob and watching the screen, you can change the first digit. To select it, press the button next to the knob, and repeat this process for the other digits. When you reach the fourth digit, hold the selection button for a few seconds. After that, the radio should work correctly.
Updated on 24 May 2026 by ScegliAuto
Video tutorial
Related tutorials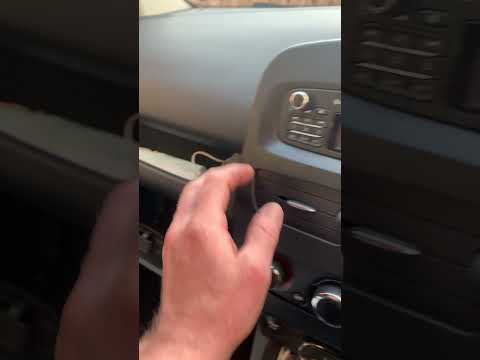
Renault Clio
(2012-2019 /
Clio IV, MK 4, Clio 4)
In the Renault Clio 4, the radio code is entered using the keypad on the left side of the radio. Buttons 1 to 4 are used to input the four digits of …
Renault Clio
(1998-2005 /
Clio 2, MK 2)
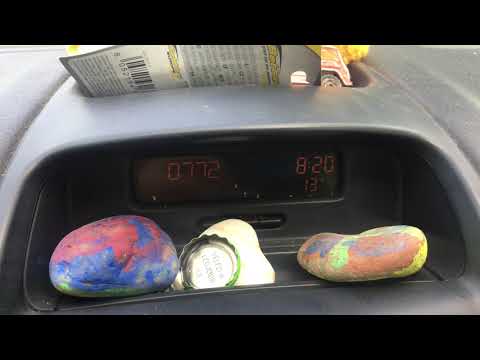
To enter the unlock code for the Renault Clio 2 radio, you need to find the code using specific applications or by reading the documents provided at …
Renault Clio
(2012-2019 /
Clio IV, MK 4, Clio 4)
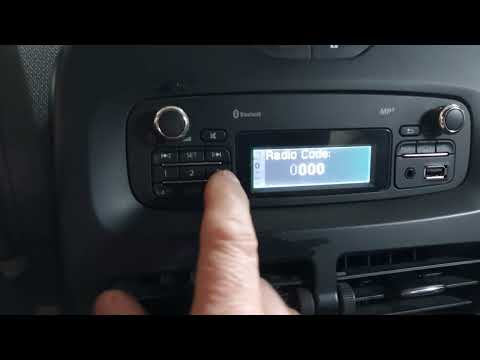
Today's steps will show you how to unlock the operation and all the stations of the radio on the Renault Clio, following the instructions below. Firs…
Other guides you may be interested in
|
Frequently Asked QuestionsHow to reset the tyre pressure warning light on the Suzuki Jimny?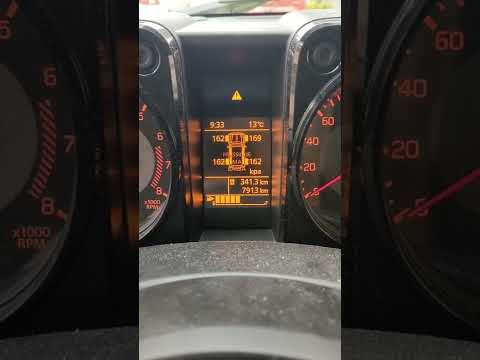
To reset the tyre pressure warning light on the Suzuki Jimny, first inflate the tyres to the pressure value indicated on the corresponding sticker: this is located at the bottom of the driver's door pillar. Once the tyres are inflated, insert the ignition key and turn on the instrument panel: select the screen that indicates the tyre pressures, checking that the values change. After a few seconds, the tyre pressure warning light will automatically turn off. by ScegliAuto More videos
|
|
For advertising on this site Write to info@scegliauto.com
ScegliAuto is not responsible for any inaccuracy of the data in the lists. To report any inaccuracy or your business (if you own the business in question), please write to info@scegliauto.com
Number of seconds to generate the page: 1.060
(c) ScegliAuto 2026 - info@scegliauto.com - Privacy policy VAT number: IT01247470535 |
