
|
Do it yourself
| |||
| ||||


Tyre Pressure Check
Model: Renault Twingo
Twingo 1
- Years 1993-2007
The correct tyre pressure affects various factors of vehicle use, such as longevity, fuel efficiency, and safety. To determine the correct inflation pressure, consider several factors including the make and model of the vehicle, distinguishing between the front and rear axles and their maximum load. Generally, all this information is collected in appropriate tables found in the user manual; some manufacturers also apply a sticker on the door frames with the recommended inflation pressure based on the tyre model installed and the load conditions. Once the correct inflation pressure value is established (generally between 2 and 3 bar), remember that for the check to be reliable, it must be performed with cold tyres. The check is carried out using a specific measuring tool called a pressure gauge, which, once accurately connected to the tyre valve, can detect the pressure level and display it via a needle or digital display; you can then inflate or deflate as needed, gradually approaching the optimal value for greater precision.
Updated on 12 February 2026 by ScegliAuto
Video tutorial
Related tutorials
Renault Twingo
(2007-2014 /
Twingo 2)
You can make the tyre pressure warning light on the Renault Twingo disappear completely by inflating the tyres to the optimal pressure value: this va…
Renault Twingo
(2014-2024 /
Twingo 3, Twingo III)
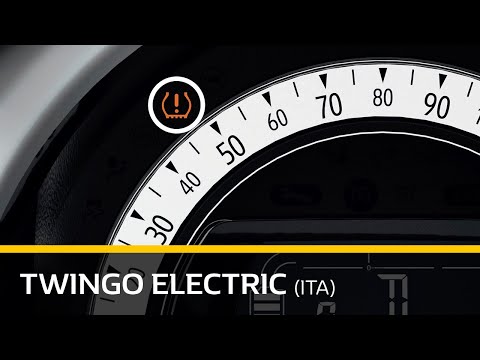
The tire pressure monitoring system is constantly active, and warns the driver in the event of a loss of pressure or insufficient pressure. When a dr…
Renault Twingo
(2014-2024 /
Twingo 3, Twingo III)
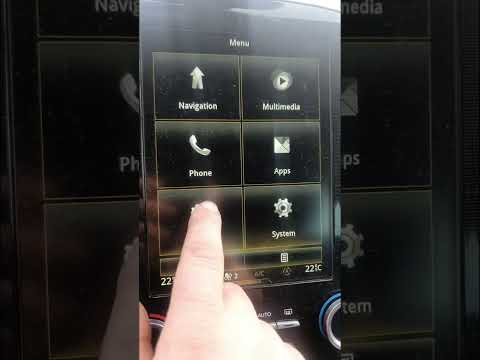
In order to reset the tire pressure warning light on the Renault Twingo, you need to turn on the instrument panel so that you can navigate through th…
Other guides you may be interested in
|
How to Change the Brake Pads on a Volkswagen New Beetle
Learn how to change the front brake pads on a Volkswagen New Beetle. First, lift the car on a column lift to the desired height, then remove the wheel (using a telescopic spanner or air impact wrench) along with the respective bolts. Unscrew the locking bolt of the brake caliper, remove it from the wheel hub support, and detach the pads from the brake caliper using a screwdriver. Install the new pads on the brake caliper and refit the brake caliper to the support; tighten all bolts and remount the wheel. Proceed to perform the same operations on the other calipers present on the vehicle. by ScegliAuto More videos
|
|
For advertising on this site Write to info@scegliauto.com
ScegliAuto is not responsible for any inaccuracy of the data in the lists. To report any inaccuracy or your business (if you own the business in question), please write to info@scegliauto.com
Number of seconds to generate the page: 0.048
(c) ScegliAuto 2026 - info@scegliauto.com - Privacy policy VAT number: IT01247470535 |