
|
Do it yourself
| |||
| ||||


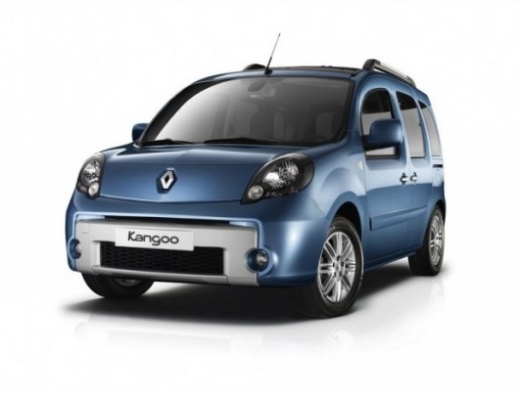
How to Replace the Pollen Filter on a Renault Kangoo
Model: Renault Kangoo
MK 2, FC, FW
- Years:
2007, 2008, 2009, 2010, 2011, 2012, 2013, 2014, 2015, 2016, 2017, 2018
This video is currently unavailable
The first step is to purchase a new pollen filter; the next step is to get inside the vehicle, turn off the engine, and pull the handbrake. The pollen filter in this vehicle is located inside, behind the glove compartment, so you need to remove the side cover by applying slight pressure to disconnect it from the two plastic clips. Also, disconnect the airbag connector; remove the screw that holds the glove compartment; remove the centre console, then pull the cover of the lever upwards with slight pressure; remove the two fastening elements, the first screw is located at the bottom left of the radio, the second screw is on the right side of the radio. Now, at the bottom of the console, remove the two side clips shaped like caps; now you can pull the console back and remove a screw from the glove compartment that is hidden behind the console and also remove the rest of the screws holding the glove compartment. Now you can remove the glove compartment by pulling it towards you (disconnect the connector), disconnect the air pipe by simply pulling it. Remove the filter cover, take out the old filter element, and replace it with the new one.
Updated on 11 June 2026 by ScegliAuto
Related tutorials
Renault Kangoo
(2007-2021 /
MK 2, FC, FW)
The video explains how to replace the cabin air filter (or pollen filter) in a Renault Kangoo. The filter box is located near the passenger's feet an…

Renault Kangoo
(2007-2021 /
MK 2, FC, FW)
How to change the pollen filter on a Renault Kangoo or Express. On the passenger side, at the bottom, there is a panel held in place by clips. Under …

Renault Kangoo
(2007-2021 /
MK 2, FC, FW)
A service is a scheduled maintenance task that must be performed on your vehicle regularly to prevent faults and maintain efficiency. If your vehicle…
Other guides you may be interested in
|
How to Open the Hood of the BMW X3
Today, you will learn how to open and close the hood of the BMW X3. To perform this simple operation, lift the hood release lever located next to the door seal on the driver’s side. After pulling the lever, you will notice that the hood will lift slightly. Position yourself in front of the hood and lift it after moving the internal lever from left to right. To keep the hood secure during maintenance, use the side support rod. To close the hood, simply let it fall back into place. by ScegliAuto More videos
|
|
For advertising on this site Write to info@scegliauto.com
ScegliAuto is not responsible for any inaccuracy of the data in the lists. To report any inaccuracy or your business (if you own the business in question), please write to info@scegliauto.com
Number of seconds to generate the page: 0.036
(c) ScegliAuto 2026 - info@scegliauto.com - Privacy policy VAT number: IT01247470535 |
