
|
Do it yourself
| |||
| ||||


How to Replace the Trim on the Renault Laguna II Centre Console
Model: Renault Laguna
MK 2, X74, Laguna 2
- Years:
2001, 2002, 2003, 2004, 2005, 2006, 2007
Video tutorial
This video shows how to replace the trim on the centre tunnel, including the card reader, air conditioning panel, and radio cover. All parts can be purchased individually from e-commerce sites, or you can choose to buy a complete console for about £150.00 and use its various parts to restore yours as desired. The operation is simple. Remove the worn pieces one by one, taking care to disconnect the various connectors; extract the front of the radio. Again, remove the connectors and then use a spanner to take off the front panel. Finally, remove the cover that conceals the screen to apply pressure on the clips. In the same way, fit the new piece. Reattach the radio cover and reconnect the electrical parts, reinserting it into its housing. Now it's time for the card reader: reattach the front panel and reconnect the electrical part. Replace the glove compartment, and the job is complete.
Updated on 23 July 2026 by ScegliAuto
Related tutorials
Renault Laguna
(2001-2007 /
MK 2, X74, Laguna 2)
On the instrument panel of the Renault Laguna, it will be possible to make the Service light disappear by inserting the ignition key into the corresp…

Renault Laguna
(1994-2001 /
MK 1, Laguna 1, X56)
Production of the Renault Laguna 1 ceased nearly 30 years ago, in 2001, but that doesn't mean there isn't someone who still has one in their garage! …

Renault Laguna
(2007-2015 /
MK III, X91, Laguna III, MK 3, Laguna 3)
Below we will see the instructions that will allow us to disassemble and replace the original car radio of the Renault Laguna, in simple steps. First…
Other guides you may be interested in
|
How to Reset the AdBlue Warning Light on a Peugeot Boxer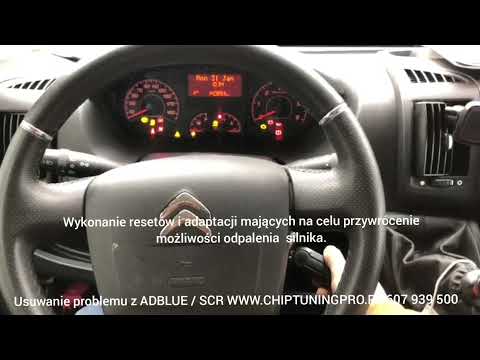
To reset the AdBlue system on a 2018 Peugeot Boxer, follow these steps: Start the engine and ensure the vehicle is parked in a well-ventilated area. Locate the "MENU" button on the dashboard or steering wheel controls. Press and hold the "MENU" button until the menu options appear on the display. Use the arrow buttons or scroll wheel to access the "Vehicle Settings" or "Settings" menu. Select the "AdBlue" or "AdBlue System" option. Look for the "Recharge" or "Reset" option in the AdBlue menu. Once you find the reset option, select it and confirm your choice when prompted. The system will be reset, and a confirmation message may appear on the display. Turn off the engine and wait a few seconds. Restart the engine and check that the AdBlue system has been reset. by ScegliAuto More videos
|
|
For advertising on this site Write to info@scegliauto.com
ScegliAuto is not responsible for any inaccuracy of the data in the lists. To report any inaccuracy or your business (if you own the business in question), please write to info@scegliauto.com
Number of seconds to generate the page: 0.014
(c) ScegliAuto 2026 - info@scegliauto.com - Privacy policy VAT number: IT01247470535 |
