
|
Do it yourself
| |||
| ||||


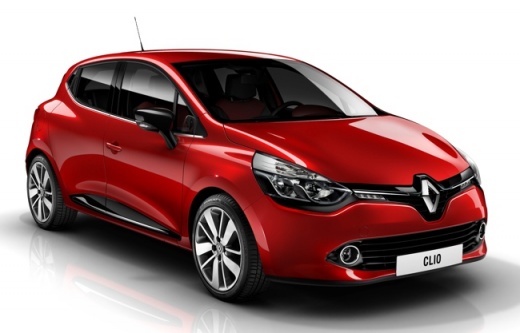
How to Replace the Front Bumper and Impact Bar on a Renault Clio IV
Model: Renault Clio
Clio IV, Clio 4, MK 4
- Years:
2012, 2013, 2014, 2015, 2016, 2017, 2018, 2019
Video tutorial
In this video, see how to replace the front bumper and impact bar on a Renault Clio IV; start by removing the bolts on the side of the bumper, while at the bottom there are four Torx bolts of size 30, and there are others that hold the engine cover which are quite hidden. Now move to the front where there are six Torx bolts of size 20. Next, remove the bonnet release mechanism, which has a cable that provides the release movement, and this must be loosened. Now that everything is free, pull firmly towards you; it feels strange but nothing will break. Just be careful with the fog light cables, which you will disconnect later. Now remove the impact bar, which is also held by a series of bolts and a cable. You can find the front reinforcement bar for your Renault Clio, for example, on eBay with code 115592692604 at a price of £115.00, with free delivery. Align it with the chassis, reassemble the bolts and then the bumper following the reverse sequence.
Updated on 28 September 2026 by ScegliAuto
Related tutorials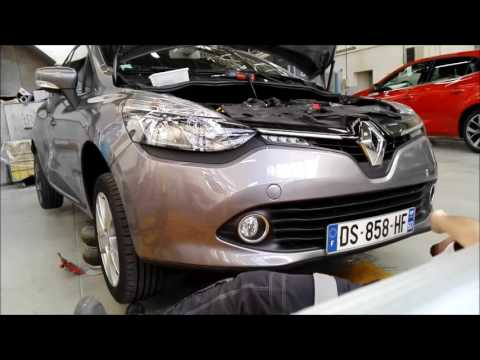
Renault Clio
(2012-2019 /
Clio IV, Clio 4, MK 4)
Want to remove the front bumper on a Renault Clio? Let's see how to proceed with the disassembly in the video: open the bonnet by pulling the bonnet …

Renault Clio
(1998-2005 /
MK 2, Clio 2)
Remove the front bumper if damaged from the front of a Renault Clio. Lift the bonnet and secure it. Use a socket spanner to undo the fastening screws…

Renault Clio
(2005-2013 /
Clio 3, MK 3, Clio III)
To remove the diesel filter on a Renault Clio, take out the diesel filter located in the front bumper. Remove the right wheel, then take off the plas…
Other guides you may be interested in
|
How to Set the Time in an Audi A4?
In this tutorial, you will see how to set the time in an Audi A4, a very simple and quick operation to perform after replacing the battery or when the time changes. First, insert the key and turn on the instrument cluster. Then, press the "SETUP" button located on the center console. Next, press the upper left arrow button, navigate to the "Time" option, and use the central knob to adjust the clock. Finally, set any necessary formats and save by returning to the main screen. by ScegliAuto More videos
|
|
For advertising on this site Write to info@scegliauto.com
ScegliAuto is not responsible for any inaccuracy of the data in the lists. To report any inaccuracy or your business (if you own the business in question), please write to info@scegliauto.com
Number of seconds to generate the page: 0.127
(c) ScegliAuto 2026 - info@scegliauto.com - Privacy policy VAT number: IT01247470535 |
