
|
Do it yourself
| |||
| ||||


Replacement of Front Headlight Bulb
Model: Saab 9 3
MK 2
- Years 2002-2014
In this guide, to describe the operations more clearly, the headlight was completely removed from the vehicle and placed on the workbench. Once the headlight is disassembled, remove the rear protective cap by turning it to the left (counter-clockwise) until you hear a click, then pull it out towards the opposite side of the headlight. At this point, disconnect the connector attached to the bulb and the retaining clips of the bulb itself, which can then be extracted. Insert the new bulb (the mounting position is fixed), secure the retaining clips, and reconnect the corresponding connector. Finally, reposition the cap and remount the headlight on the vehicle.
Updated on 4 February 2026 by ScegliAuto
Video tutorial
Related tutorials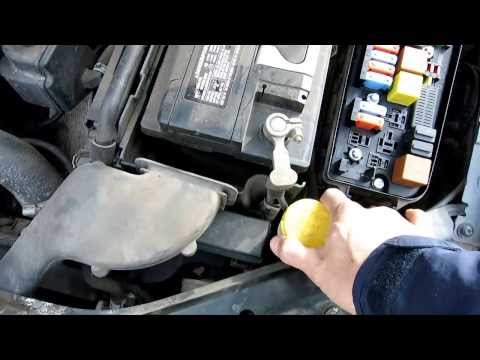
Saab 9 3
(2002-2014 /
MK 2)
Obtain the appropriate bulbs, remove the rubber cover, then the retaining spring of the bulb holder, and the metal cover. Take out the spring and the…

Saab 9 3
(2002-2014 /
MK 2)
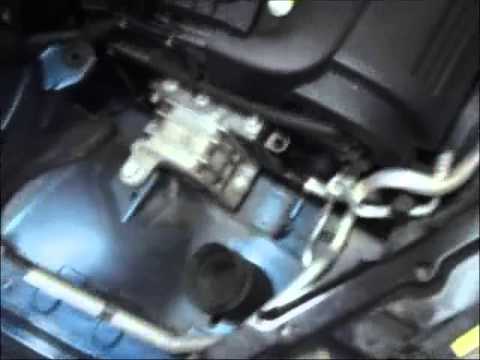
To replace the front headlight bulb, you must remove the headlight itself: open the front bonnet and ensure it is securely supported, remove the plas…
Saab 9 3
(2002-2014 /
MK 2)
To replace the left front headlight bulb, first remove the air filter housing; then remove the rubber cap behind the headlight, disconnect the connec…
Other guides you may be interested in
|
How to Change the Glow Plugs on a Hyundai Santa Fe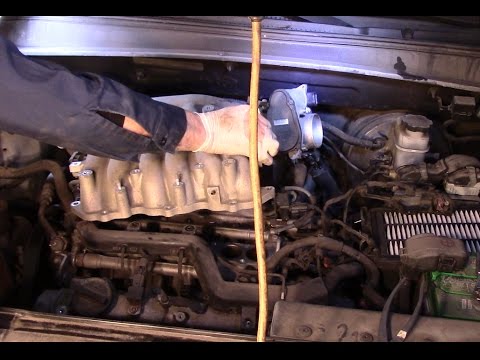
In this video, see how to remove and replace the glow plugs on your Hyundai Santa Fe. Pull the lever to open the engine compartment located at the bottom left of the dashboard, lift the bonnet, and secure it. Follow the video for the tools to use for disassembly. Remove the plastic engine cover and the air filter kit; you will see the engine head bare without plastics. Unscrew the coils using a socket wrench and disconnect the power cables. Once all the coils are removed, unscrew the glow plugs from the head and take them out. To remove the other coils and glow plugs, you need to uncover the metal protection from the head; unscrew these as well and prepare to install the new glow plugs. Be careful not to let any debris fall into the engine head while unscrewing the glow plugs. It is advisable to vacuum the glow plug wells before disassembly. by ScegliAuto More videos
|
|
For advertising on this site Write to info@scegliauto.com
ScegliAuto is not responsible for any inaccuracy of the data in the lists. To report any inaccuracy or your business (if you own the business in question), please write to info@scegliauto.com
Number of seconds to generate the page: 0.132
(c) ScegliAuto 2026 - info@scegliauto.com - Privacy policy VAT number: IT01247470535 |