
|
Do it yourself
| |||
| ||||


Replacement of Crankshaft Position Sensor
Model: Saab 9 5
MK 1, Ys3e
- Years 1997-2010
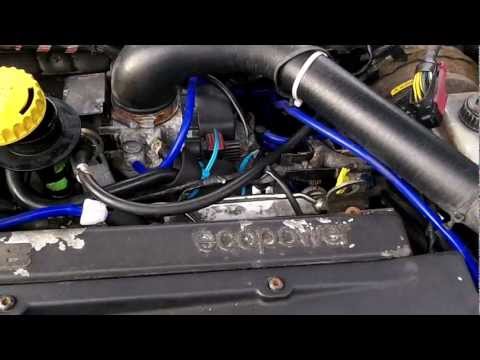
If your Saab's engine has difficulty starting when hot, it is likely due to the crankshaft position sensor. The replacement is not particularly difficult, although the working space is quite limited. You will need a simple T-30 Torx bit mounted on a ratchet. To locate the sensor, first remove the cover panel of the exhaust manifold. The sensor is located on the lower right in a somewhat difficult-to-reach position; if you can access it from underneath the car, it is more convenient. It is secured with a T-30 Torx screw. Once you have replaced the sensor, secure the cable in the same position as the old one up to the connector. Ensure that this is well connected, and you will be finished.
Updated on 4 February 2026 by ScegliAuto
Video tutorial
Related tutorials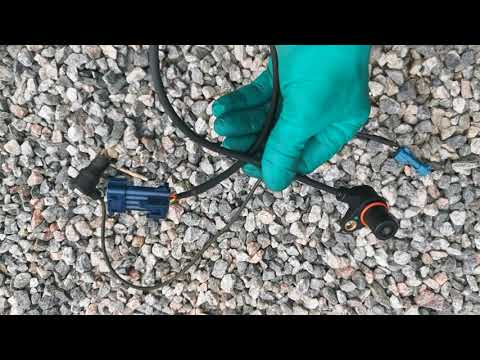
Saab 9 5
(2010-2012 /
MK 2, Ys3g)
In this tutorial, we can see how to replace the crankshaft position sensor in the Saab 9-5, a very simple and quick operation. First of all, make sur…
Saab 9 5
(1997-2010 /
MK 1, Ys3e)
For the modification, you need to obtain the complete kit. Start by disconnecting the negative terminal of the battery, then disconnect the sensor co…
Saab 9 5
(1997-2010 /
MK 1, Ys3e)
The alternator is located at the rear left of the engine bay (when facing the front), in a rather awkward position. To facilitate the disassembly pro…
Other guides you may be interested in
|
Removing the Timing Belt on a Suzuki Vitara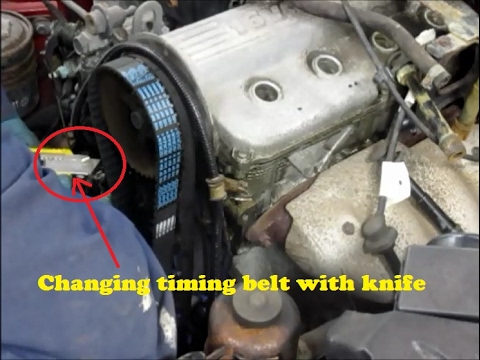
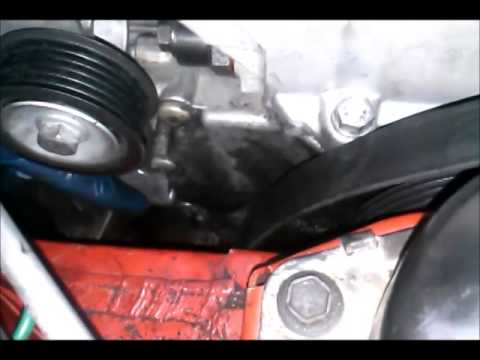
In this video, see the removal and replacement of the timing belt and water pump on a Suzuki Vitara. Open the bonnet and lift it, securing it in place. Use a socket wrench to remove the cooling radiator along with the associated hoses. Disconnect the power wiring using pliers, and remove the plastic undertray with a screwdriver. Use a spanner to loosen the tensioner pulley and slide the belt off its seat. Use a socket wrench to unscrew the tensioner pulley bolt, and remove the water pump as shown in the video. Fit the new water pump, the tensioner, and the belt itself, tightening everything with the socket wrench. Finally, reinstall the radiator with the securing bolts. by ScegliAuto More videos
|
|
For advertising on this site Write to info@scegliauto.com
ScegliAuto is not responsible for any inaccuracy of the data in the lists. To report any inaccuracy or your business (if you own the business in question), please write to info@scegliauto.com
Number of seconds to generate the page: 0.053
(c) ScegliAuto 2026 - info@scegliauto.com - Privacy policy VAT number: IT01247470535 |