
|
Do it yourself
| |||
| ||||


Saab 9 3 - Video tutorial
Model: Saab 9 3
MK 2
- Years 2002-2014 There are many devices that are used to reduce polluting emissions among these devices we find the EGR valve. Recycling of flue gases (in the context of alternative internal combustion engines) consists in recirculating a "small" part (5-15%) of the exhaust gases by passing them from the exhaust manifold to the intake manifold, in order to reduce a part of pollutants present in the exhaust gases. Remove the motor protection and locate the valve, remove the connection pipes by removing the hose clamp springs. With a socket wrench remove the sealing bolts at the base of the same. Gently remove the valve from its housing by rotating it back and forth until it comes out of its seat. Once extracted, it can be replaced or cleaned using a brush and suitable solvent. After cleaning, reassemble the valve.
Posted on 6 July 2023 by ScegliAuto
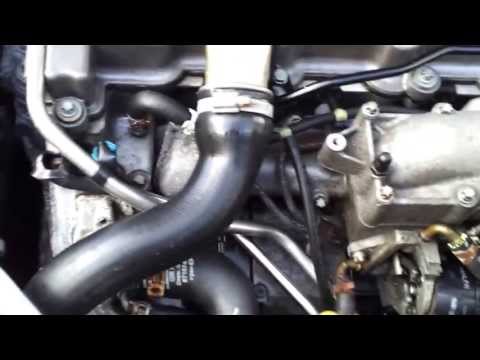 Guide to cleaning the EGR valve
Saab 9 3 (2002-2014 / MK 2) The EGR valve serves to reduce the size of the nitric oxide. It is a valve that opens and closes to control the flow of gas. To clean it, disconnect 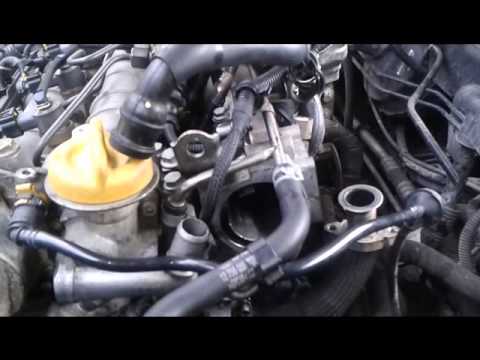 Egr valve cleaning instructions
Saab 9 3 (2002-2014 / MK 2) The EGR valve, being constantly in contact with the exhaust gases, tends to get dirty, sometimes to the point of jamming and if it remains open you c 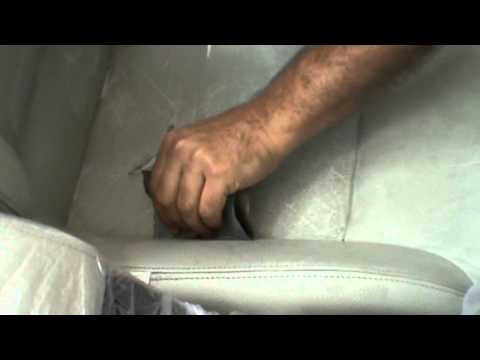 Regeneration of Saab 9.3 convertible leather seats
Saab 9 3 (2002-2014 / MK 2) It is inevitable that the heat, the contact with the clothes, the detergents of the car wash, cause the leather upholstery of the seats to age; the f Other guides that may interest you
|
How do I replace the Land Rover Evoque auxiliary battery?
In order to replace the auxiliary battery of the Land Rover Evoque, it is necessary to go inside the passenger compartment and remove the panel which is positioned immediately under the glovebox. Once the screws that secure this panel have been loosened, it will be possible to access the components located in its rear part, including the auxiliary battery. The latter must be disconnected from its cables and the fixing screws must be loosened. The battery can then be replaced with a new one and the panel can be fixed again with its screws. by ScegliAuto More videos
|
|
For advertising on this site Write to info@scegliauto.com
ScegliAuto is not responsible for any inaccuracy of the data in the lists. To report any inaccuracy or your business (if you own the business in question), please write to info@scegliauto.com
Number of seconds to generate the page: 0.027
(c) ScegliAuto 2024 - info@scegliauto.com - Privacy Policy VAT number: IT01247470535 |