
|
Do it yourself
| |||
| ||||


|
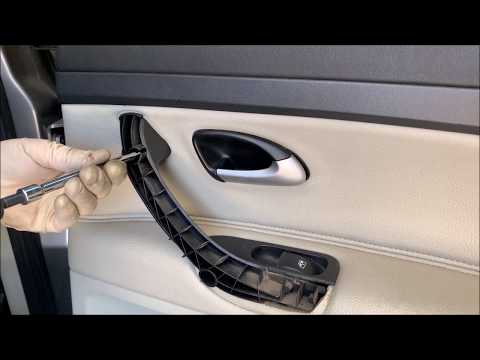
This tutorial explains the operation of the rear door opening mechanism of a Saab 9-3. The various steps allow you to dismantle the door opening module to check for any malfunctioning parts and proceed with their replacement. The video begins with the door panel already removed. It shows how to remove the screws and clips that secure the panel covering and protecting the handle mechanism. It also demonstrates how to disconnect the electrical connections that power the central locking and electric window operation: simply use the tip of a screwdriver to press on the connector tab. To dismantle the latch mechanism, access the two bolts that secure it; for this, you need a ratchet with a joint and a 10 mm socket and an extension. The handle plate must also be removed by unscrewing the three bolts that secure it from the inside. Once extracted, you can proceed with the repair or replacement.
Updated on 11 February 2026 by ScegliAuto
This video is currently unavailable
Related tutorials
Saab 9 3
(2002-2014 /
MK 2)
We perform the disassembly of the door panel (rear right) on Saab 9 3: disconnect the battery terminals in the engine compartment, remove the plastic…
Saab 9 3
(2002-2014 /
MK 2)
We perform the disassembly of the right door panel on Saab 9 3: we disconnect the battery terminals in the engine compartment, with a screwdriver we …
Saab 9 3
(2002-2014 /
MK 2)
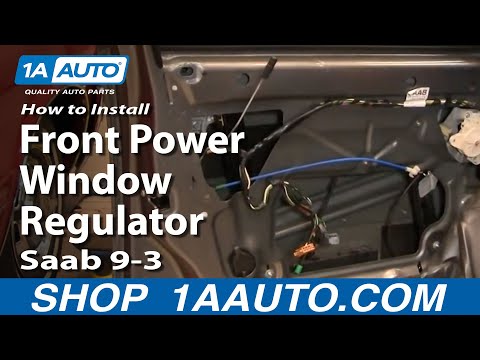
To replace the window regulator motor, first remove the door panel: before proceeding with the removal, it is advisable to disconnect one battery ter…
Other guides you may be interested in
|
How to Replace the Cabin Fan Resistor on a BMW 3 Series
How to Replace the Cabin Fan Resistor on a BMW 3 Series. Open the door and remove the plastic cover under the dashboard on the right side. Use a trim tool to pry off the cover next to the dashboard. Get a screwdriver or a cordless drill, open the glove compartment, and unscrew the fastening screws around the perimeter with a screwdriver. Once this is done, pull out the glove compartment and disconnect the power cables. Remove the fan resistor from its housing, insert the new part into the filter holder, and reassemble all the components of the glove compartment as you disassembled them earlier. by ScegliAuto More videos
|
|
For advertising on this site Write to info@scegliauto.com
ScegliAuto is not responsible for any inaccuracy of the data in the lists. To report any inaccuracy or your business (if you own the business in question), please write to info@scegliauto.com
Number of seconds to generate the page: 0.049
(c) ScegliAuto 2026 - info@scegliauto.com - Privacy policy VAT number: IT01247470535 |