
|
Do it yourself
| |||
| ||||


How to Easily Change the Badge on a Skoda Citigo
Model: Skoda Citigo
MK 1
- Years 2011-2020
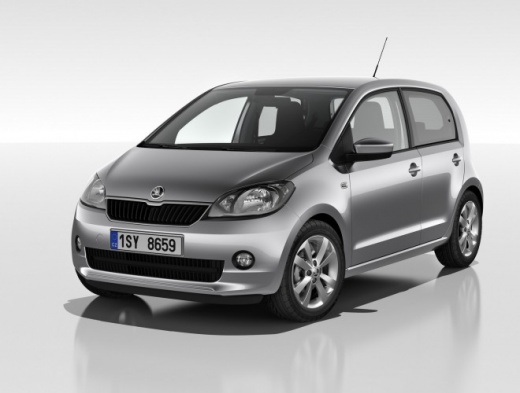
Let's see how to change the manufacturer badge on a Skoda Citigo: many people dislike chrome emblems, preferring black (glossy or matte) which they believe gives their vehicle a more aggressive look. Here's how to make this replacement. First, heat the badge with a heat gun (a normal hairdryer will also do). Then, wrap some dental floss multiple times to create a bit of thickness and pass it under the badge plate. Next, using a spatula (preferably plastic) and resting on a cloth, pry until the badge comes off. With a rubber disc attached to a drill, remove the adhesive residue from the bodywork. Clean the surface thoroughly with polish. Now it's time to attach the badge. On eBay, you can purchase a two-piece kit for £18.88 (with free delivery). On the back, you will see little pins that will help you position the badge, then remove the adhesive backing and press firmly. Follow the same procedure for the front badge.
Updated on 11 August 2026 by ScegliAuto
Video tutorial
Related tutorials
Skoda Citigo
(2011-2020 /
MK 1)
To locate the fuse box on your Skoda Citigo, you do not need the assistance of a professional; simply follow these steps to find it in seconds. First…

Skoda Citigo
(2011-2020 /
MK 1)
If the inspection light continues to appear on the dashboard of your Skoda Citigo even after you have serviced the car, you will need to manually res…
Skoda Citigo
(2011-2020 /
MK 1)
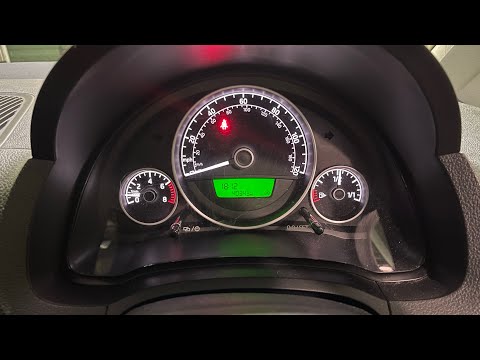
If the display on your Skoda Citigo's instrument cluster shows the wrong time and you want to learn how to change it manually, simply follow these st…
Other guides you may be interested in
|
How to Remove the Headrests from a Fiat Panda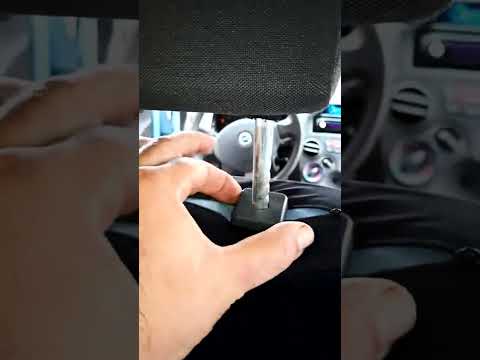
Below are the instructions to remove the headrests, both front and rear, from the Fiat Panda. First, get inside the vehicle and press and hold the side button located at the base of the headrest. Then, while holding the button, pull the headrest upwards to remove it, as shown in the video. At this point, perform the same operation on the other headrests. Now, simply insert them back in while holding the button, and finally adjust the height of all the headrests! by ScegliAuto More videos
|
|
For advertising on this site Write to info@scegliauto.com
ScegliAuto is not responsible for any inaccuracy of the data in the lists. To report any inaccuracy or your business (if you own the business in question), please write to info@scegliauto.com
Number of seconds to generate the page: 0.195
(c) ScegliAuto 2026 - info@scegliauto.com - Privacy policy VAT number: IT01247470535 |
