
|
Do it yourself
| |||
| ||||


Removing the Car Radio and Installing Aftermarket Model
Model: Smart Smart
451
- Years 2007-2015
Detach the switch panel with the hazard light switch located just below the car radio: from the central hole, you can access a Torx screw that needs to be removed.
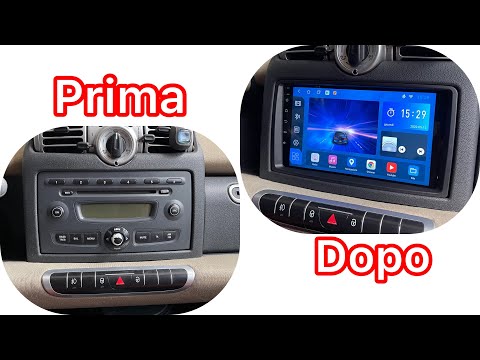
Using a plastic trim tool, detach the plastic frame around the central air vents and the car radio itself: then unscrew the 4 Torx screws located at the corners of the car radio. At this point, you can pull out the car radio by disconnecting the connectors attached to it. Apply the GPS antenna to the air duct (it will be hidden by the frame) and the microphone to the cover of the indicator stalk. Then connect the adapter wiring to the original connectors and then to the new car radio; check its operation; apply the adapter frame and insert it into the designated slot, tightening the 4 fixing screws. Reassemble the frame, the corresponding fixing screw, and finally reattach the switch panel.
Updated on 3 February 2026 by ScegliAuto
Video tutorial
Related tutorials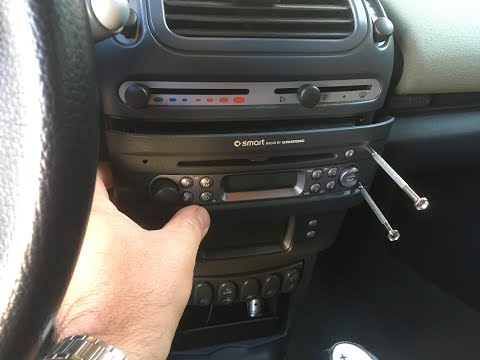
Smart
(1998-2007 /
450)
Remove the car stereo from the Smart Fortwo? We disassemble the car radio and assemble a new one. We use the original or aftermarket metal keys to di…
Smart
(2007-2015 /
451)
If we want to proceed to disassemble the car radio on this car model and then maybe mount a more performing model, in the description that is given b…

Smart
(1998-2007 /
450)
In today's video we see how to install a two din car radio in the first series of Smarts, or the 450. This operation will allow you to modernize your…
Other guides you may be interested in
|
How to Remove the Original Radio on a Honda CR-V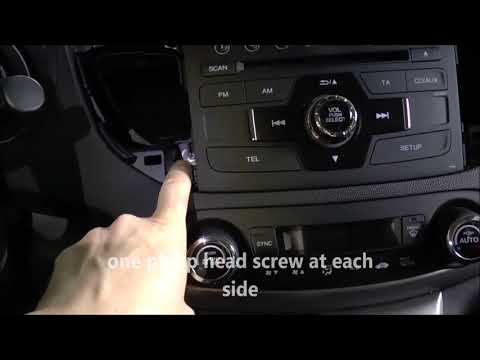
How do you remove the original radio on a Honda CR-V? First, use a plastic lever to remove the side cover of the radio (the air vents), then, with a screwdriver, unscrew the securing screws located on the sides (if present). After unscrewing the side screws (and disconnecting the clips) of the stereo, pull it out from its slot and remove it (disconnect the various power connectors at the back). To install the new stereo and the various removed parts, proceed in reverse order. by ScegliAuto More videos
|

|
For advertising on this site Write to info@scegliauto.com
ScegliAuto is not responsible for any inaccuracy of the data in the lists. To report any inaccuracy or your business (if you own the business in question), please write to info@scegliauto.com
Number of seconds to generate the page: 0.054
(c) ScegliAuto 2026 - info@scegliauto.com - Privacy policy VAT number: IT01247470535 |