
|
Do it yourself
| |||
| ||||


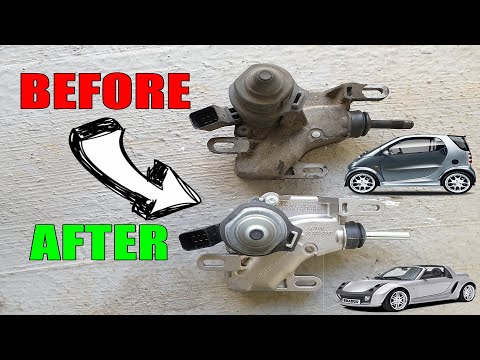
How to disassemble and replace the Smart Fortwo clutch actuator
Model: Smart Smart
450
- Years 1998-2007
In this guide, let's find out the instructions necessary to disassemble and replace the clutch actuator of the Smart Fortwo. First of all we lift the car to access the actuator, located near the gearbox; then we go to disconnect the electric connectors of the actuator, unscrewing all the fixing screws and the cables to remove it, as illustrated in the video. At this point we carry out the cleaning of the component or directly the replacement, with its original spare part; we just have to reassemble everything, applying the reverse procedure!
Posted on 11 January 2023 by ScegliAuto
Video tutorial
Related tutorials
Smart
(1998-2007 /
450)
In this short and simple guide, we will see how the clutch actuator of the Smart Fortwo works. The clutch actuator of this car works electronically a…
Smart
(1998-2007 /
450)
We see in this video the instructions to be able to disassemble and replace the clutch actuator on a Smart Fortwo and Roadster. First we go to identi…

Smart
(2007-2015 /
451)
In today's video tutorial we will see how to install the clutch actuator on the Smart Fortwo 451, following the instructions below. First of all we l…
Other guides you may be interested in
|
Frequently Asked QuestionsHow to Remove the Indicator Light from the External Mirror of a Jeep Renegade
How to remove the indicator light from the external mirror of a Jeep Renegade? Follow these steps: use a plastic or rubber lever to pry between the edge of the mirror frame and the mirror glass. Pry until the glass separates from the mirror; this is a delicate operation as the glass or the mirror itself may break. Once the mirror is removed, disconnect the power connector for the glass and press on the locking clips to detach the mirror cover. Remove the indicator from the mirror and replace the bulbs. by ScegliAuto More videos
|
|
For advertising on this site Write to info@scegliauto.com
ScegliAuto is not responsible for any inaccuracy of the data in the lists. To report any inaccuracy or your business (if you own the business in question), please write to info@scegliauto.com
Number of seconds to generate the page: 0.073
(c) ScegliAuto 2026 - info@scegliauto.com - Privacy policy VAT number: IT01247470535 |